

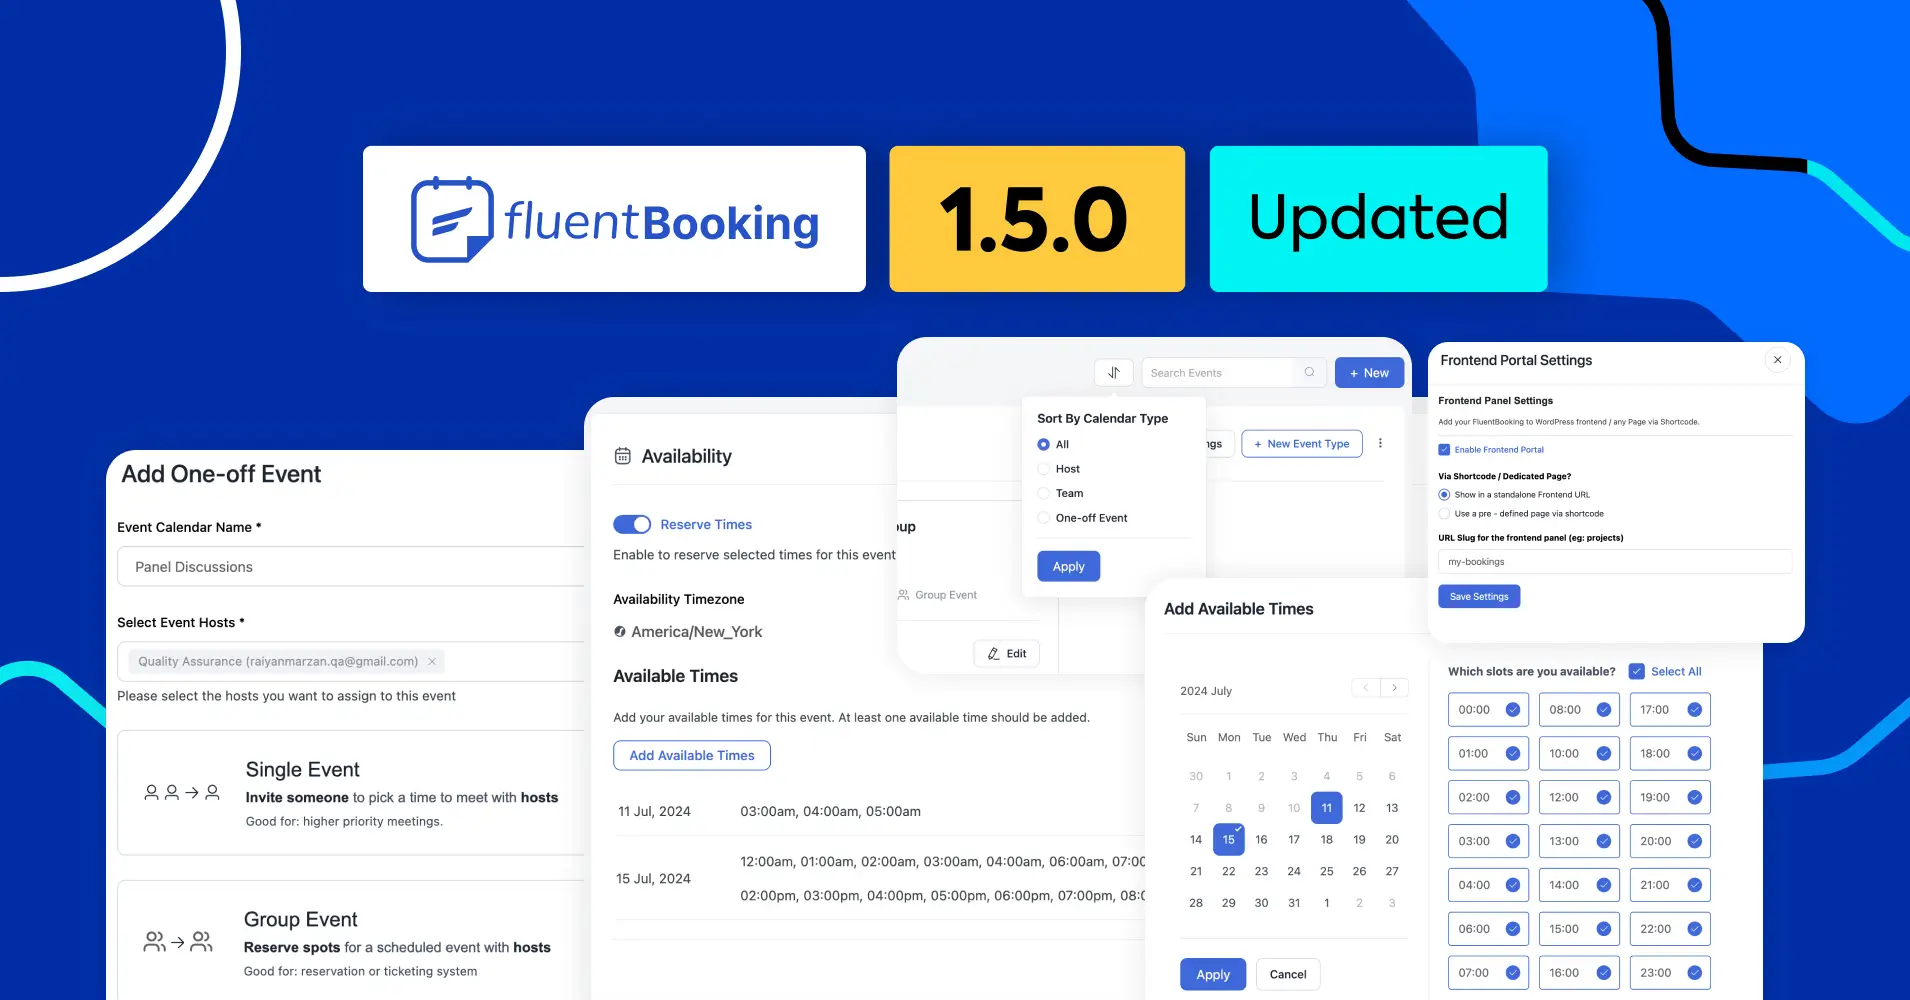
FluentBooking 1.5.0: Free Version, Frontend Panel, One-off Event, and More!


Hello awesome people!
Hope you’re all having a great day! Today I’m here to make it even better. Like any product update, we have some exciting news that we can’t wait to share.
Today I have some BIG news that will take your appointment management experience in WordPress to the next level. After our last release, the team has been busy cooking a special recipe for you.
Intrigued? You should be! If you’re curious about what’s next, you’ll love what we have in store!
And we don’t want to keep you waiting any longer.
Let’s dive into the surprises awaiting you in this update!
FluentBooking Free Version
Yes, you read that right! The FluentBooking free version is now live, and you can try it out before considering the pro version. If you’re on a tight budget, now is the perfect time to test the plugin before making your final decision.
The free version comes with all the basic features you need to manage your appointments and attendees. But if you want to enjoy FluentBooking to its fullest, you should consider buying the pro license.
That being said, we believe it’s a great opportunity to try FluentBooking if you’re thinking of switching from another appointment management tool at a much cheaper cost.
Frontend Panel
The long wait for the frontend panel is over! You can now load FluentBooking on the front end of your website and use it smoothly.
I believe this feature will completely change the way you manage your appointments. Just imagine interacting with FluentBooking without needing to access the backend of your website.
With the necessary permissions, any user can view, manage, or cancel their schedules without backend access.
The frontend panel offers many benefits, including:
- Easier access to appointment management
- Improved user experience
- Appointment management without admin access
- Smart access control while keeping the backend secure
- Increased business efficiency
- Improved customer service
Now it’s time to enable and use this feature. Go to Settings > Advanced Features & Addons and you’ll discover the frontend panel option.
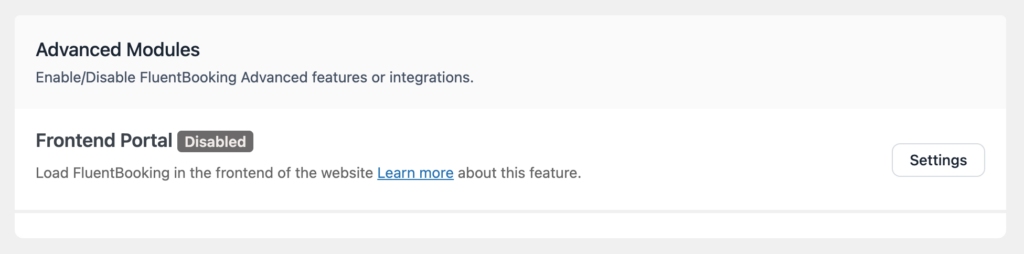
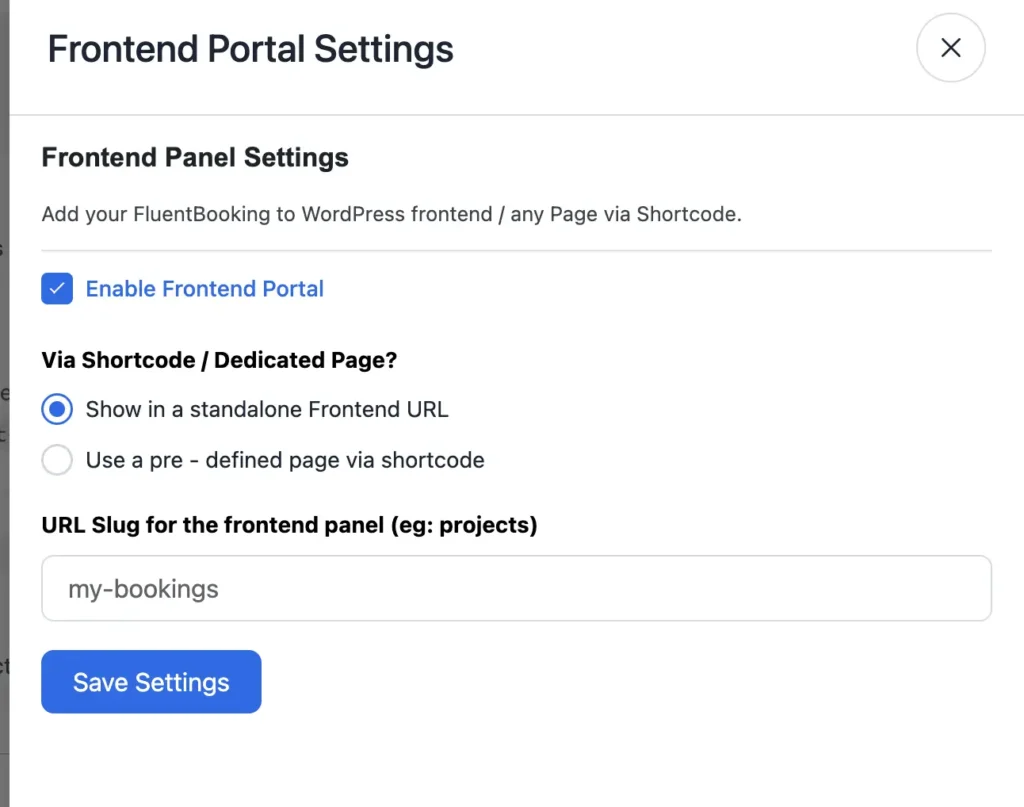
Click Settings and then select Enable Frontend Portal. Then you have two option to view FluentBooking in the frontend of your website. You can show FluentBooking in a standalone frontend URL.
Also, you can select a pre-defined page to show in the frontend. When you are done configuring click Save Changes.
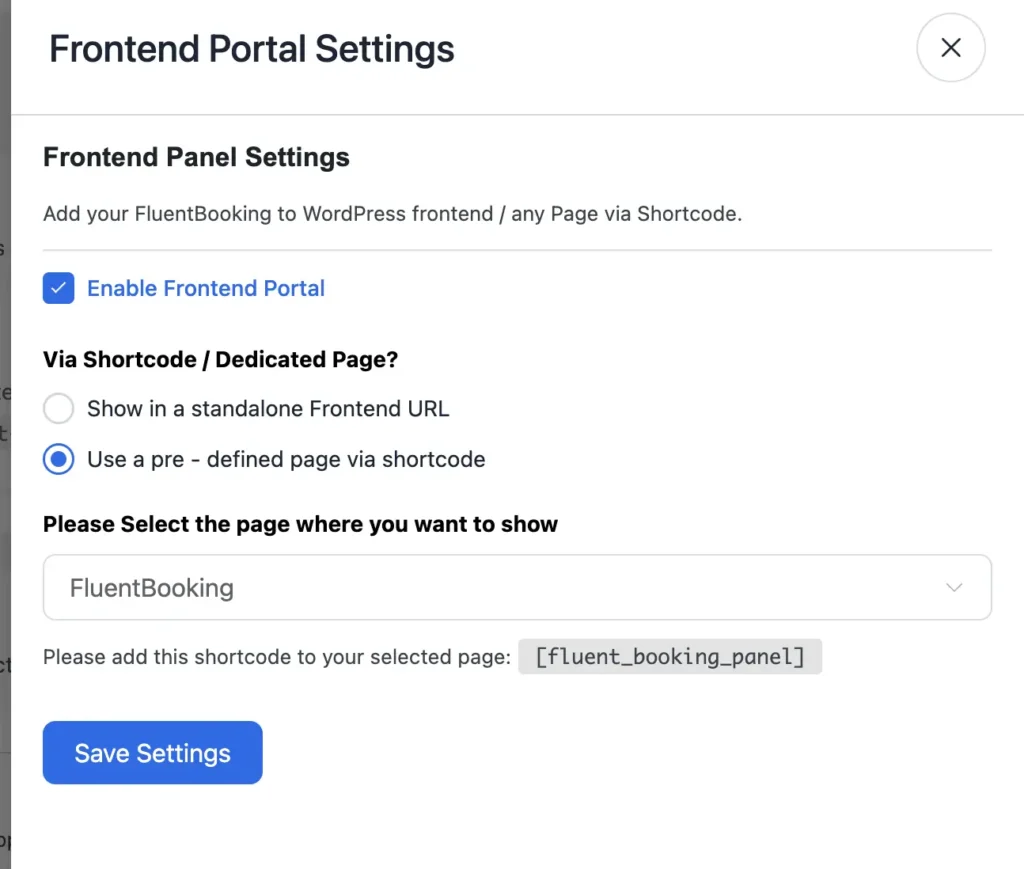
But make sure you have added the shortcode to your selected page:
[fluent_booking_panel]Now when you are done with setting up everything your FluentBooking frontpanel will look like this:
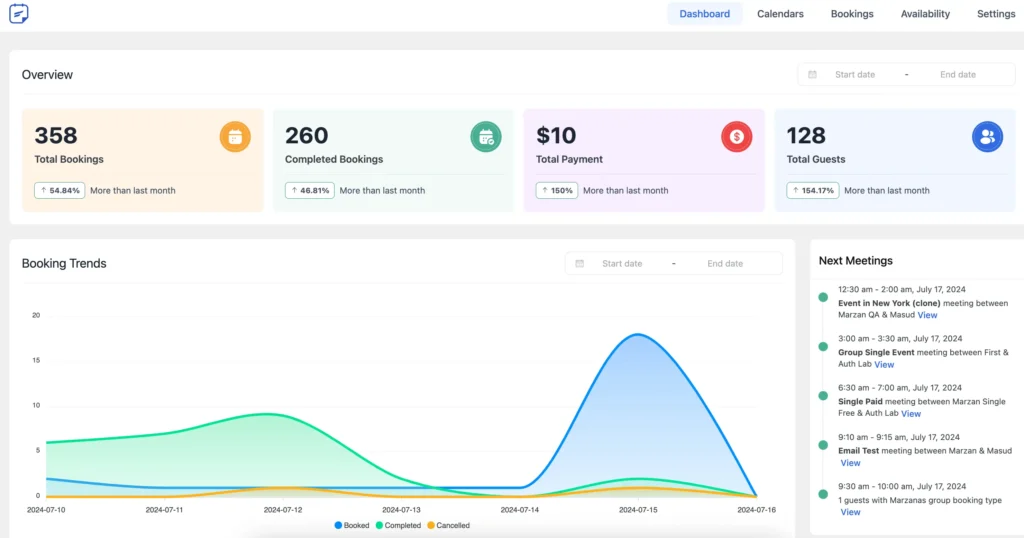
Looks amazing, isn’t it?
One-off Event: Single Event
What if I told you that with FluentBooking, you can manage single events or even set up a reservation or ticketing system? I think that’s a real bombshell!
Well, you can now set a new event type called “One-off Event” which can be used to create a particular event scheduled on a single date and time for any specific person or group.
Depending on your needs, you can set up this event as a single event or group event and your attendees can reserve their spot.
Single Event: A single event is an appointment that involves a meeting between one/multiple hosts and a single attendee. It occurs once at a specific time and date. Example: Job interview, consultation, etc.
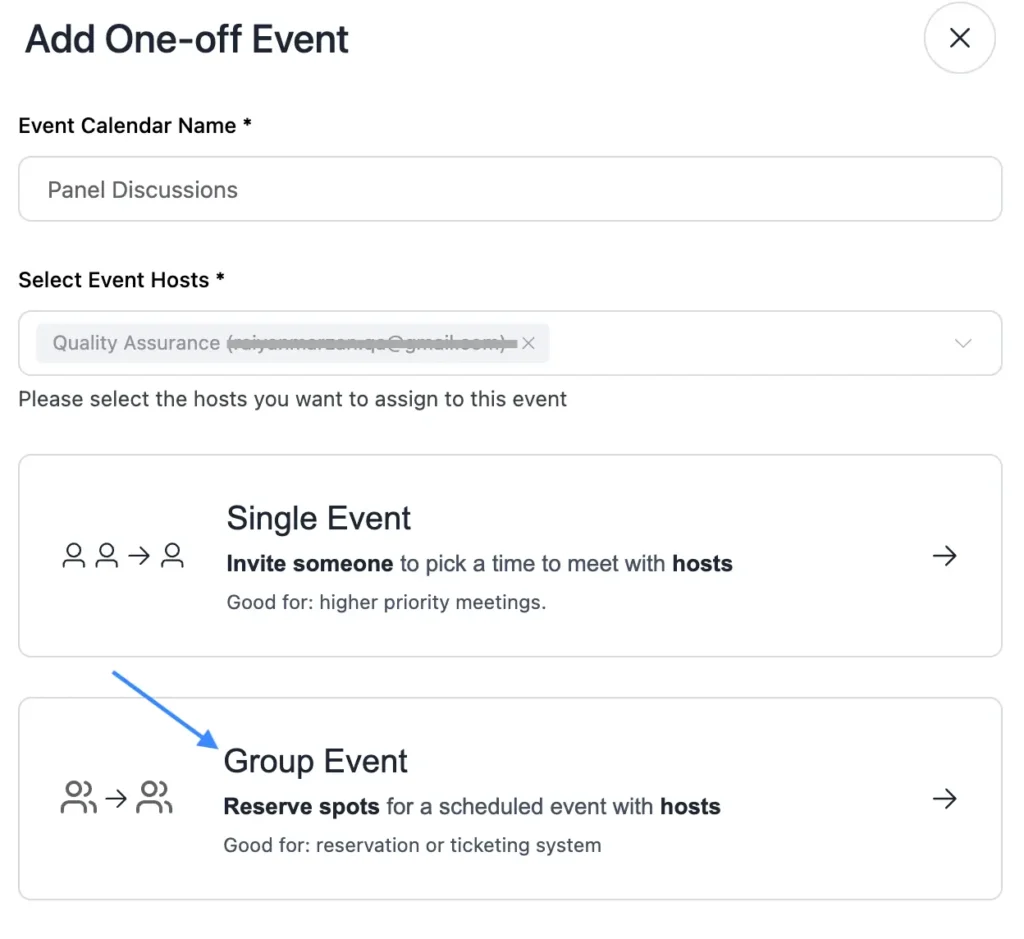
Now it’s time to configure and use this new meeting type. For this, go to Calendars > New and select Add One-off Event.
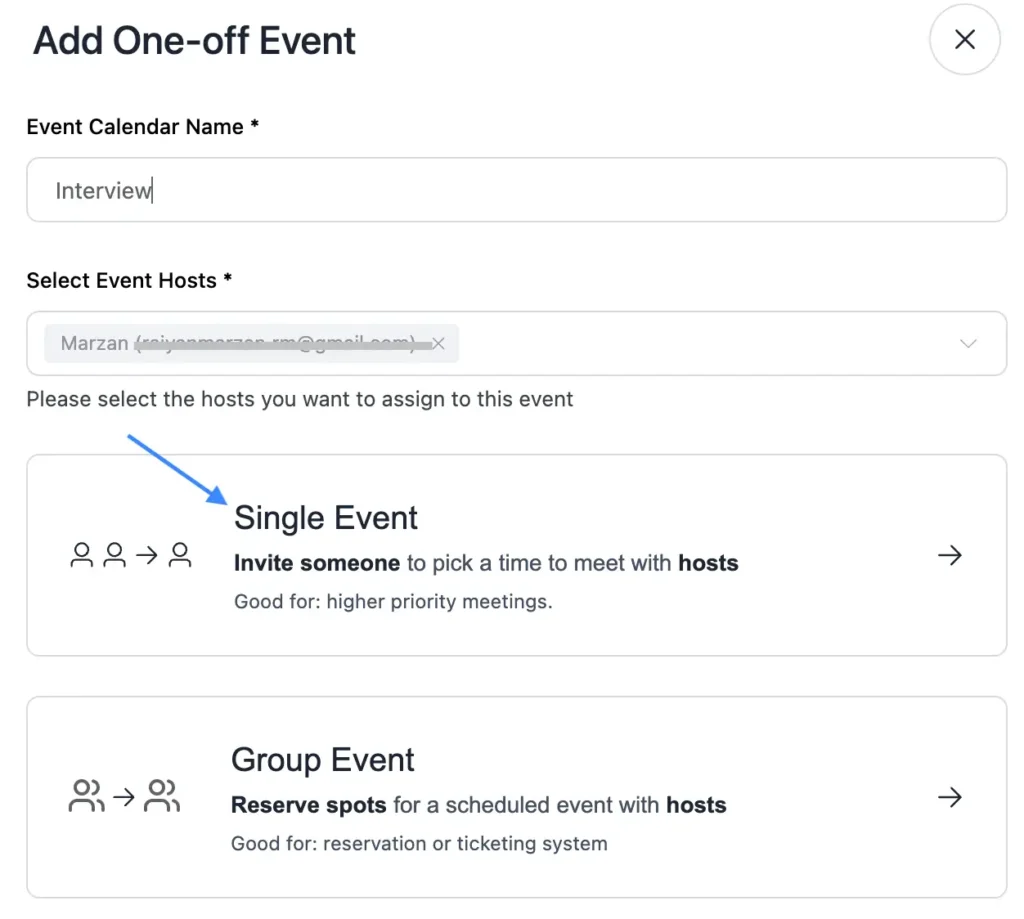
Now you need to set the event name, add event hosts, and select the event type.
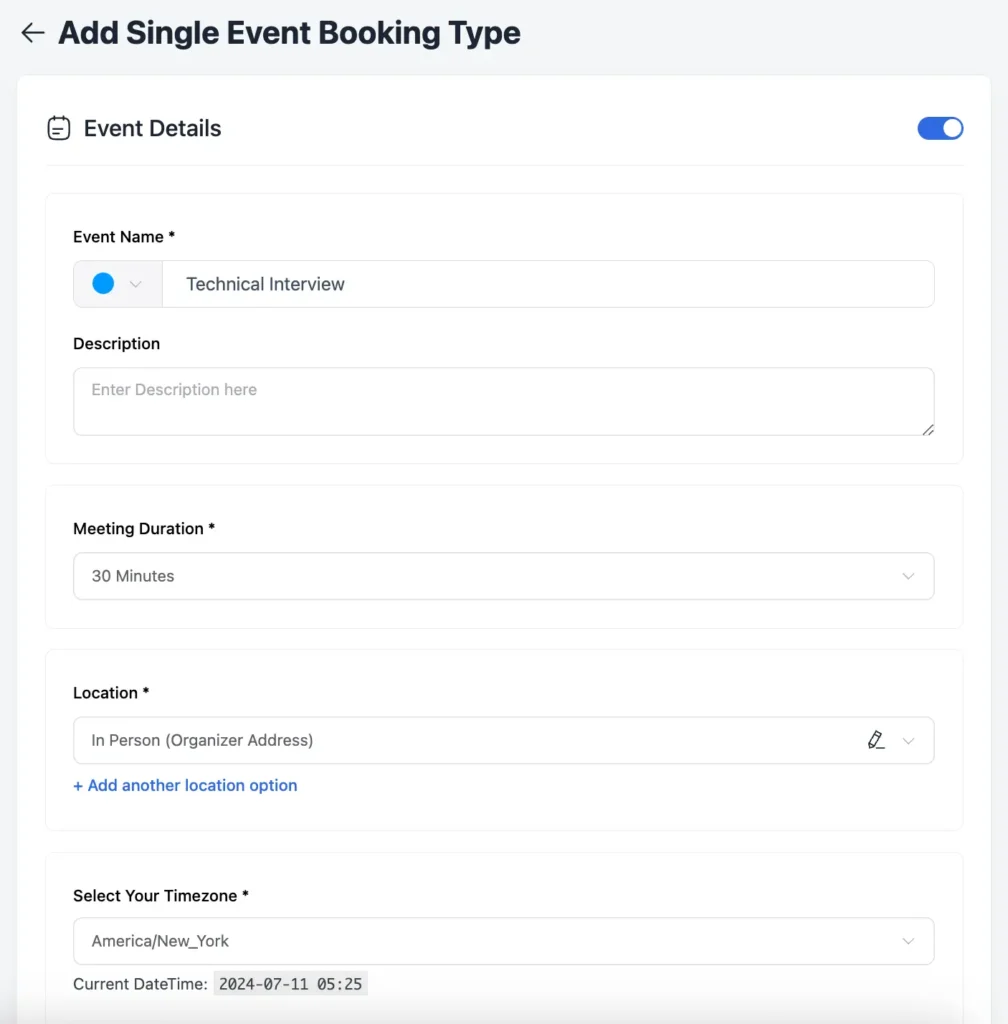
Let’s say you have selected Single Event. Then you need to configure the event details.
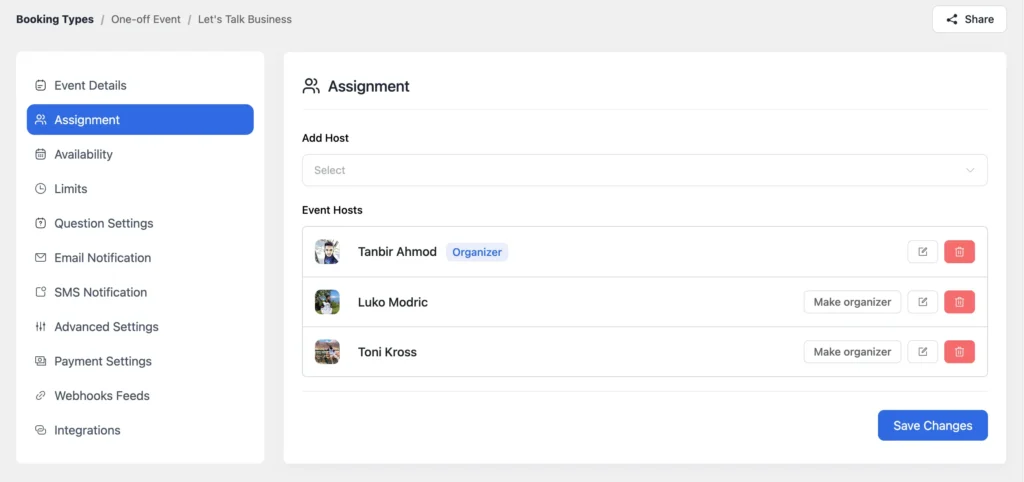
Next, under Assignment, you can set the meeting organizer and add, remove, or manage your team members. If the organizer has enabled the remote calendar integration, the event will be automatically synced with the calendar app.
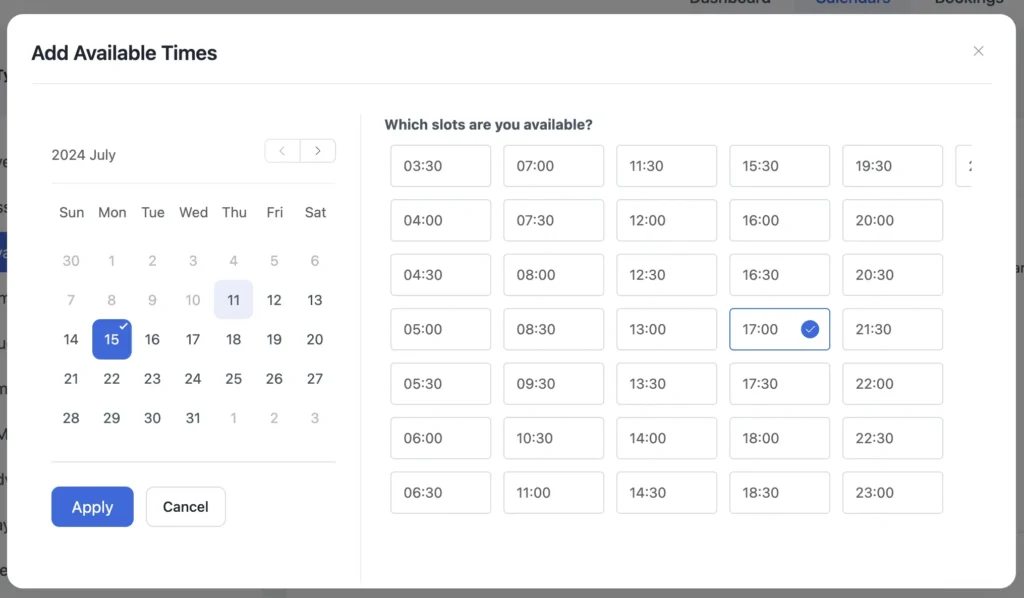
Once done, head to Availability, and here you’ll discover some new options.
- Reserve Times: If enabled you’ll reserve the time selected for this event and prevent double-booking
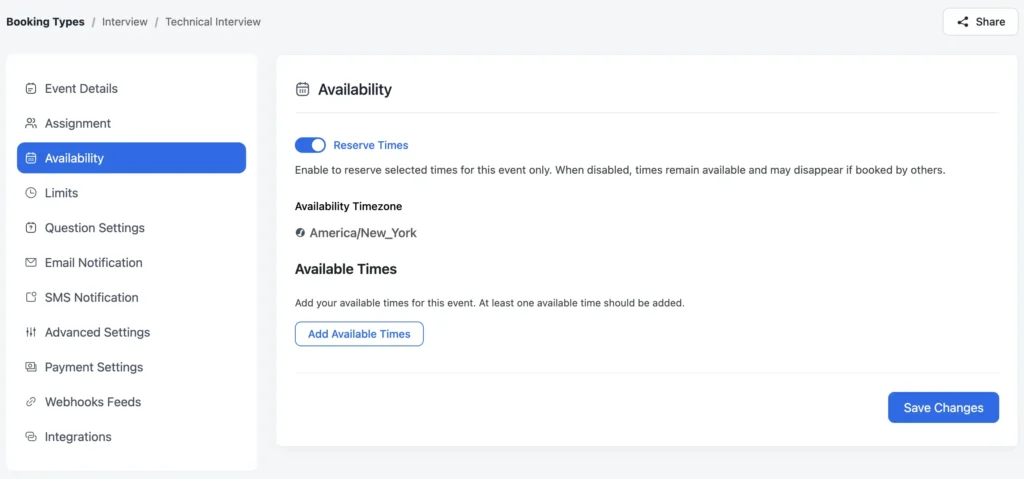
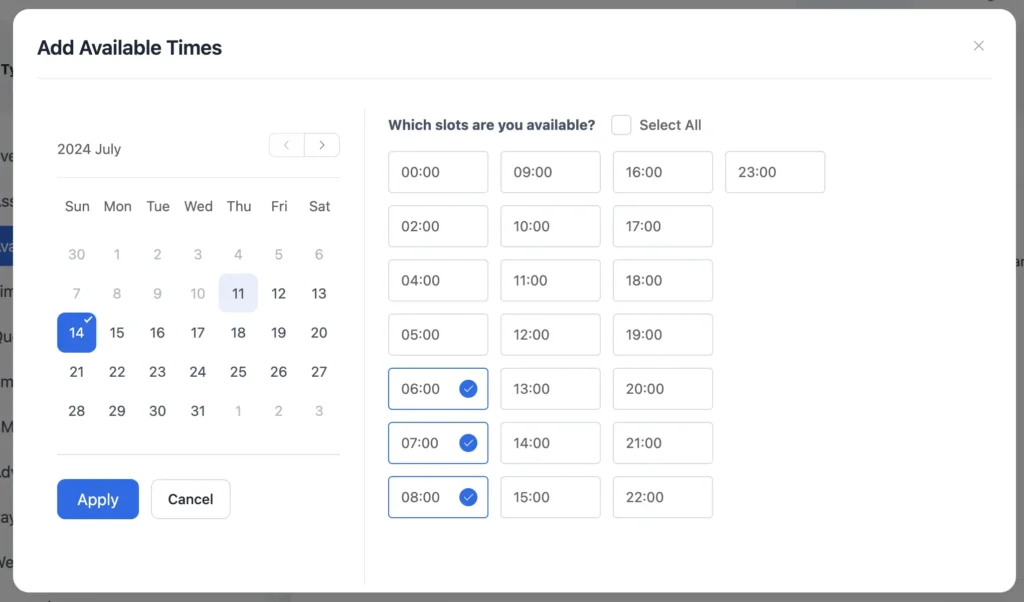
- Available Times: Here you need to select the date and available times of this particular single event
If you click Select All then all the slots will be available for making appointments.
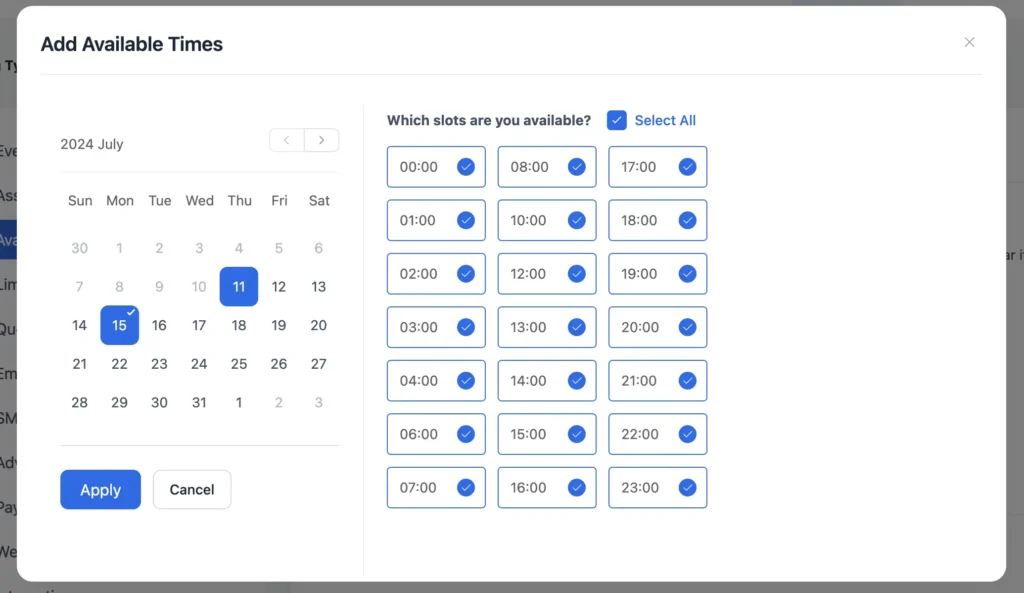
Next, click Apply to view all the available times for this single event.

Finally, click Save Changes and you are ready with your single event. When the attendee visits your booking page, he/she can select the preferred time and make an appointment with you.
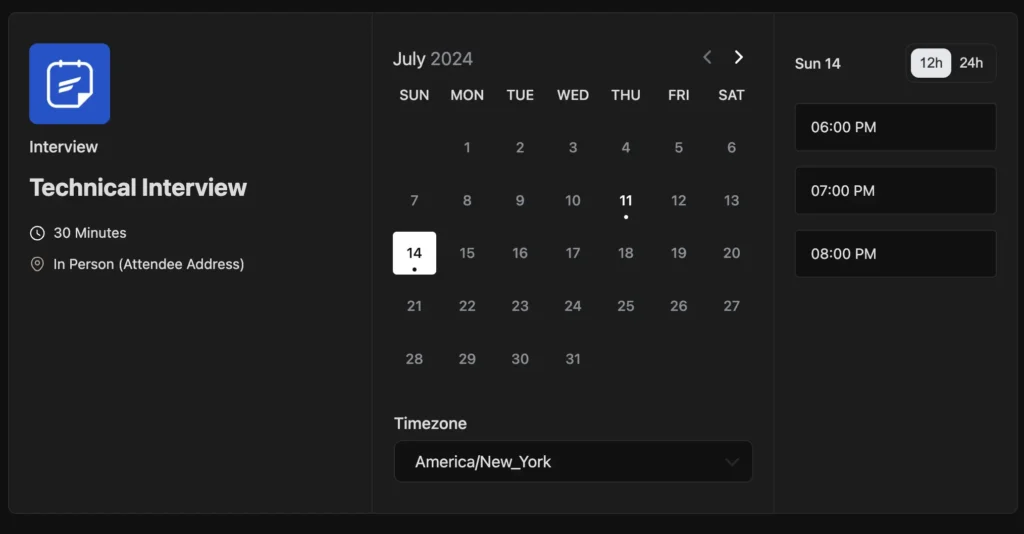
This way you can use the Single Event feature to host exclusive high-priority meetings.
One-off Event: Group Event
Group events are going to open a new door for your appointment management in WordPress. Now, let’s first understand what a group event is.
Group Event: A group event is an appointment that involves a meeting between one/multiple hosts and multiple attendees. It also occurs once at a specific time and date. Example: Webinar, workshop, WordCamp, etc.
To set up a Group Event, go to Calendars > New and select Add One-off Event. Then select the Group Event option to set a meeting with multiple attendees.
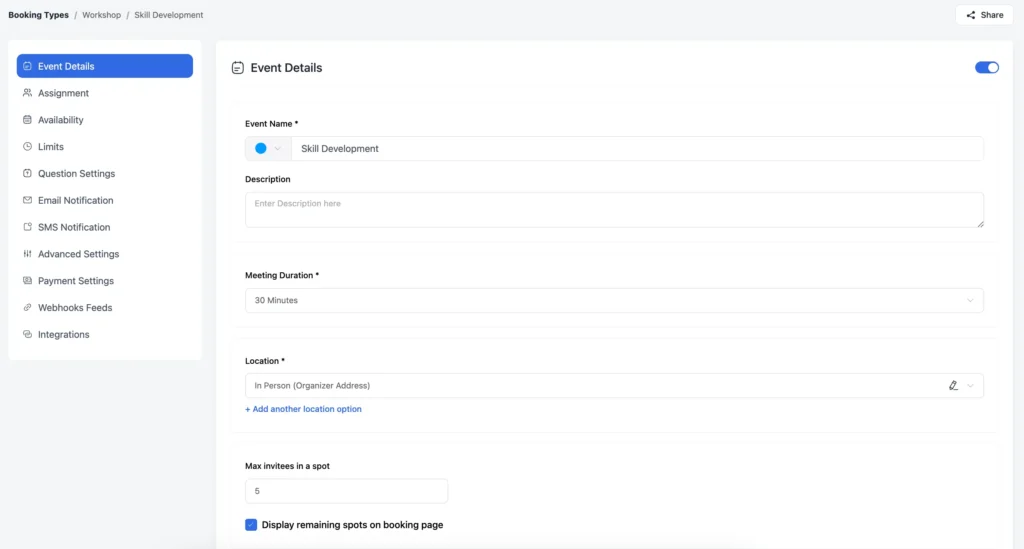
Next, under Event Details, you can set the event name, description, meeting duration, location, max invitees in a spot, etc.
The rest of the configurations are almost the same as the Single Event but in the case of Availability, instead of selecting all of the available time, you can only select a specific time for your group event.
Now when you go live with your Group Event, the attendees can easily schedule the meeting with you.

N.B. You can use the Group Event feature as a ticketing system/event booking system
Event Search and Calendar Sorting
The event search feature will make finding and accessing events incredibly easy for you. You can quickly locate any event without having to browse through the whole page. This will save both your time and effort.

Last but not least, you can use the calendar sorting option to sort any calendar by categories such as All, Host, Team, and One-off Events. This allows you to quickly see all events you are hosting, check team schedules, or find one-time events without being overwhelmed by other entries.
Save time and focus more on your appointments!
FluentBoards Due Type
Remember in FluentBooking 1.4.2 when we introduced the FluentBoards integration? This integration will change the way you handle your appointments, especially when you are running a team.
While configuring FluentBoards, you may have noticed an option for setting the due date. In this update, we have introduced two types of due dates for you.
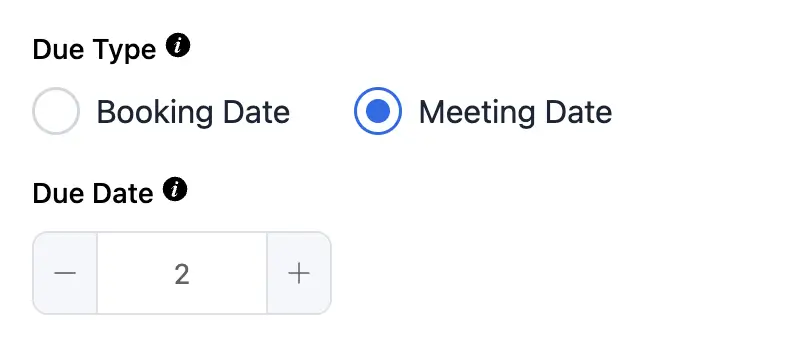
- Booking Date: If you select the booking date, the due date will be based on the date your attendee makes the appointment. For example, if your attendee takes your appointment on July 20th and you set the due date value to 2, then the actual due date will be set for July 22nd.
- Meeting Date: If you select the meeting date, the due date will be based on the date the meeting is scheduled. For example, if your attendee schedules the appointment on July 21st and you set the due date value to 2, then the actual due date will be set for July 23rd.
N.B. The due date value can be negative, positive, or even zero. However, you need to use it wisely and logically.
Clone Email Notification, SMS notification, Webhook Feeds, & Integrations
Who doesn’t love to save themselves from unnecessary work and focus more on productive tasks? I think we all want that. That’s why we have added a very handy and useful clone option under email notifications, SMS notifications, integrations, and webhook feeds.
- Clone email notification: Using this clone option, you can easily clone the email notifications from any other calendar to your targeted calendar. Just go to Calendars > Edit > Email Notification > Three Dots > Clone from and select the calendar from which you want to clone the settings.
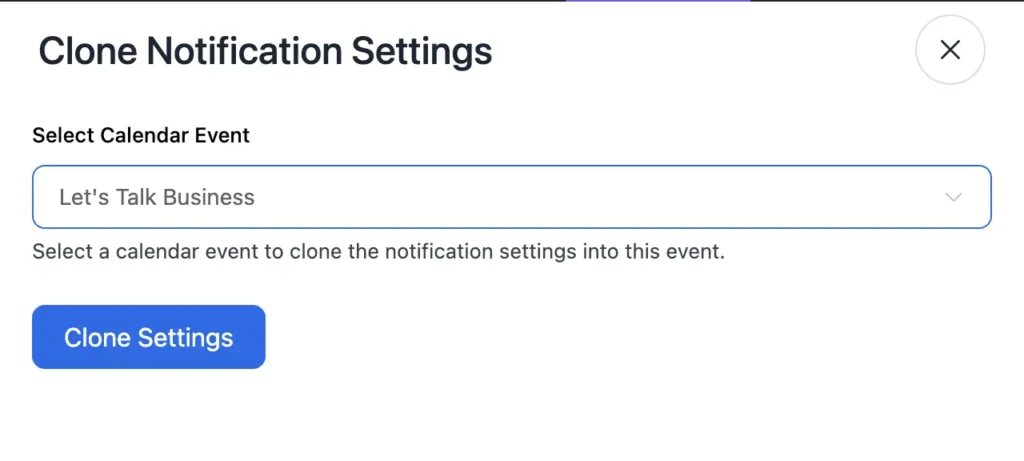
Now the preferred email notifications will be set for your targeted calendar.
- Clone SMS settings: If you want to clone SMS settings from any calendar, this option is for you. Go to Calendars > Edit > SMS Notification > Three Dots > Clone from and then select the calendar from which you want to clone.
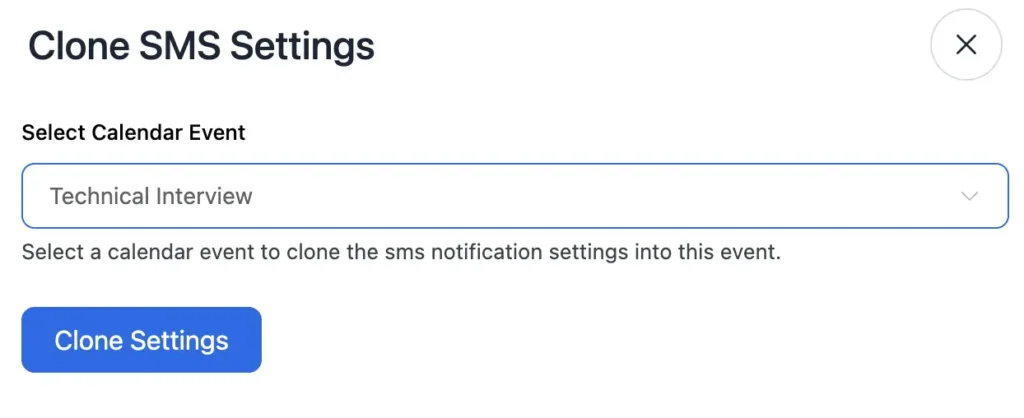
This way, you can easily clone the SMS settings from any other calendar to your targeted calendar.
- Clone webhook settings: To clone webhook settings, go to Calendars > Edit > Webhook Feeds > Three Dots > Clone from and then select the calendar from which you want to clone.
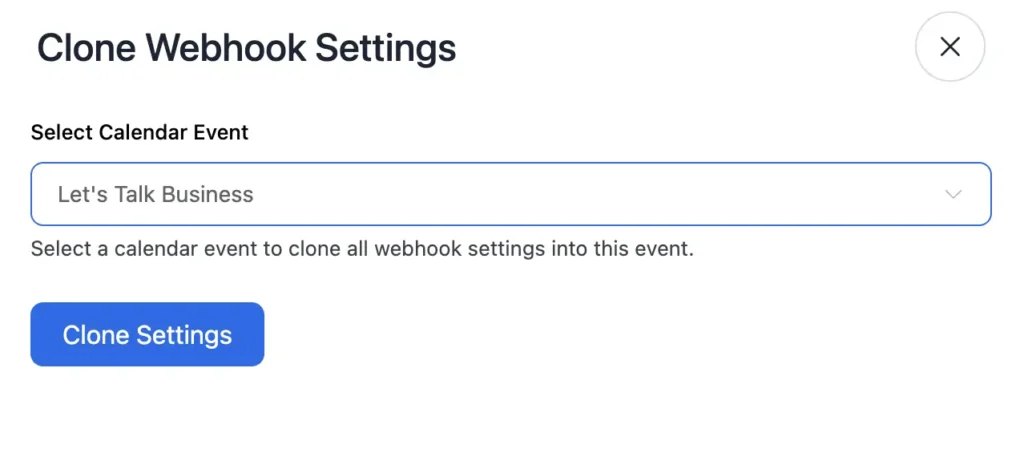
Now the webhook integration will work fine for your newly configured calendar.
- Clone integration settings: Cloning integration settings from any calendar is also possible. Go to Calendars > Edit > Integrations > Three Dots > Clone from and select the calendar.
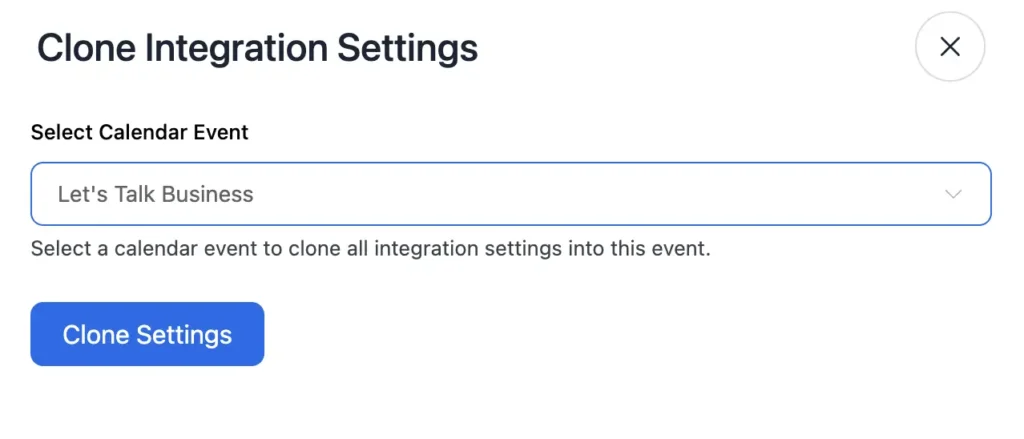
Once done, you won’t need to manually configure the integrations for your new calendar.
N.B. If you don’t find the three dots, just focus on the top right corner. There you’ll find the three dots option.
Improvements and Bug Fix
Just like other product updates we have improved some of the existing functionalities of FluentBooking. Here are the product improvements:
- Made the duration label dynamic
- Improved the round-robin meeting scheduling
- Improved the UI/UX of FluentBooking
Bugs are always disturbing, and we understand the frustration they cause. Our team has fixed a few bugs that some users encountered. Here’s the list:
- Fixed Round Robin DST issue
- Fixed Elementor integration issue
The Future is Bright!
If someone asks me what the future holds with FluentBooking, I would say: Imagine a sunny day with a strong breeze, where every moment is perfectly planned and every appointment flows smoothly.
Our dream is to make FluentBooking the go-to option for every WordPress user who depends on appointment management. The team is working day and night to make your every day bright with FluentBooking.
Enjoy the latest features and improvements, and we look forward to meeting again with another FluentBooking release.
Thank you!
Shahjahan Jewel
Hello, this is Jewel, CEO & Head of Ideas at WPManageNinja. I am obsessed with WordPress since 2009. My aim is to be a user-centric developer first, and a serial entrepreneur second. You will find me discussing various tech issues and trying to come up with scalable solutions on different forums when I am not busy coding.
Table of Content
Subscribe To Get
WordPress Guides, Tips, and Tutorials

Leave a Reply