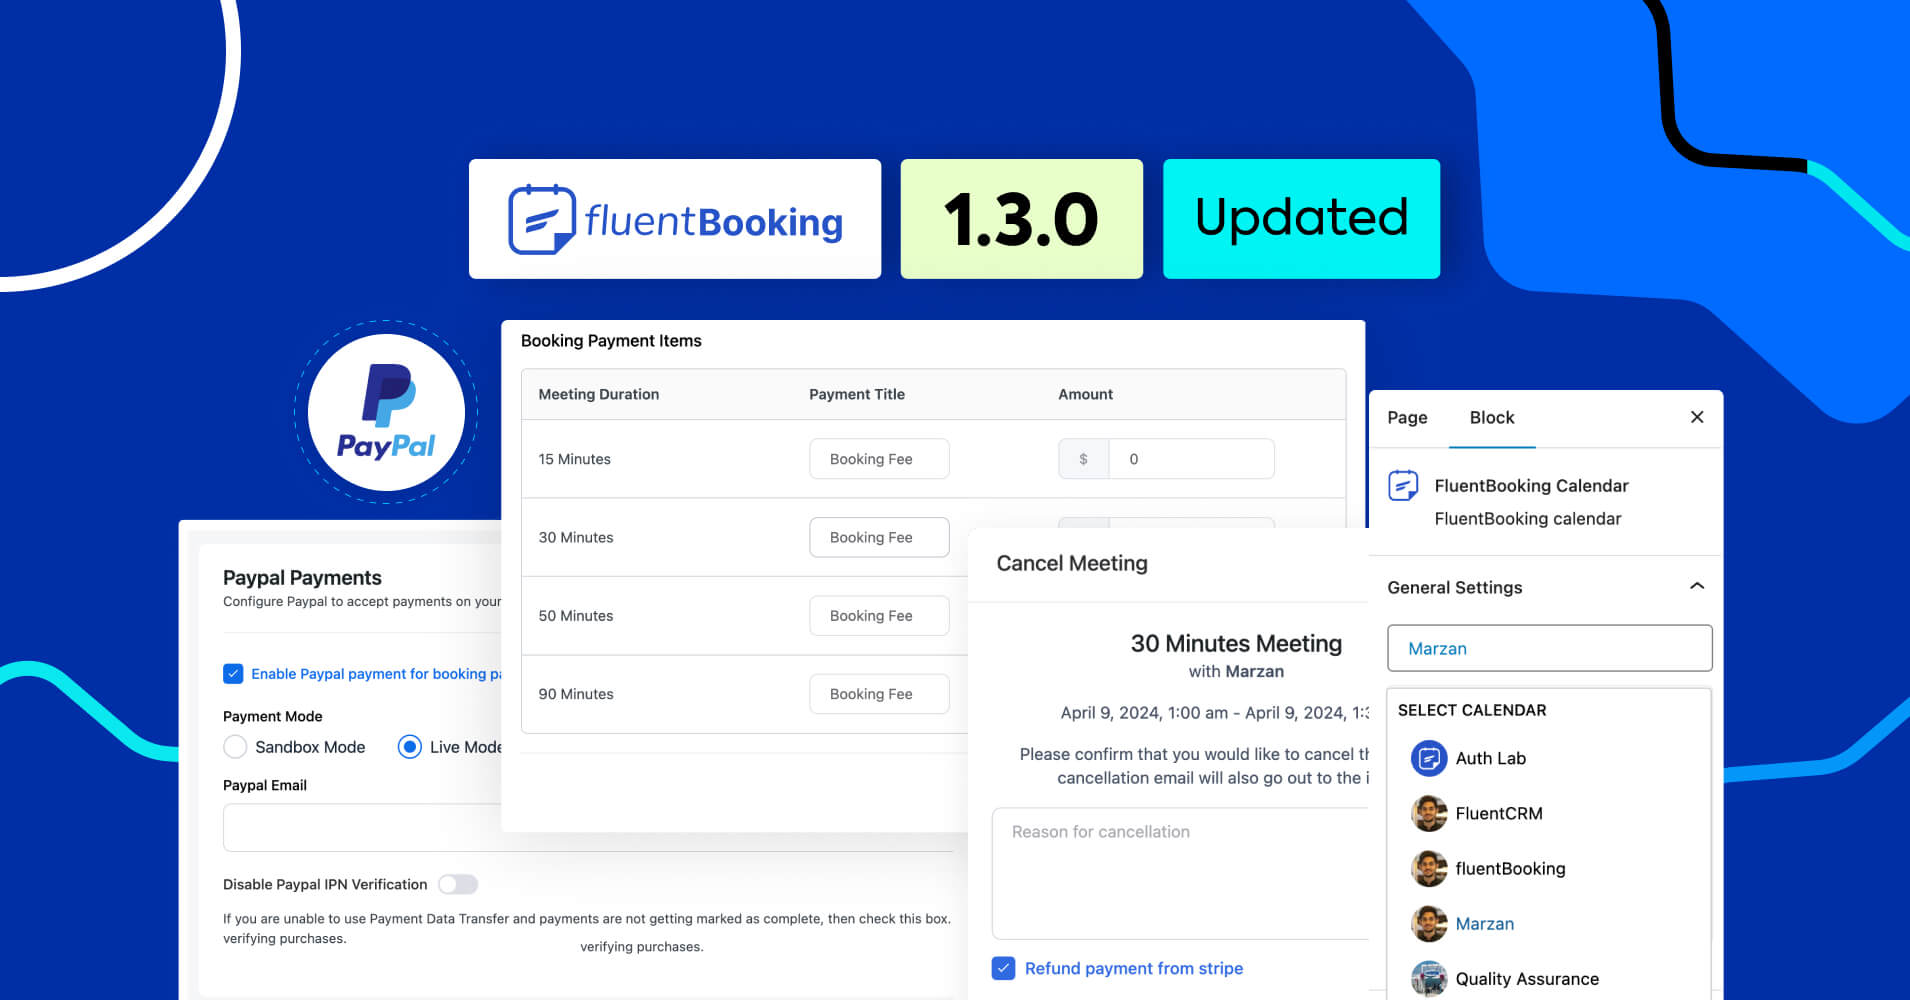
FluentBooking 1.3.0: Multi-payment Option, PayPal Integration, Stripe Refund, Rescheduled Trigger, and More!
It’s been a while since the last FluentBooking update and the team has been busy doing some crazy stuff. Well, we have attended WordCamp Asia, celebrated International Women’s Day with our amazing women, coded new FluentBooking features, and of course, kept partying.
But that’s not all!
We broke the silence and announced our next-gen project management plugin: “FluentBoards” – designed to simplify your complex project management challenges. And the great news is it’s currently in the beta-testing phase!
Alright then! Now it’s time to keep our focus high and let’s explore the exciting new features of FluentBooking.
Multi-payment Option Based on Meeting Duration
The multi-payment option allows you to charge clients based on the length of their meetings. You can set up various payment options for your service, and clients can choose their preferred package according to their specific needs.
To enable the multi-payment option, navigate to Calendars > Edit > Payment Settings and check ‘Enable multiple payment options based on duration.’
Next, configure the checkout method and select the payment method for your clients. Then, set your pricing based on meeting length. Additionally, you have the option to offer packages for free.
Finally, click on Save Settings and you are done setting the multi-payment method and ready to offer flexible payment choices that suit your clients best.
PayPal Integration
Previously, FluentBooking only supported the Stripe payment gateway for accepting payments. However, many of our users requested PayPal integration as well. That’s why we have added PayPal payments in this update.
Now, it’s time to enable the PayPal integration. But before that, if you are using FluentBooking for the very first time, make sure you have enabled the Payment Module under General Settings.
Then, go to Calendars > Edit > Payment Settings and check ‘Enable paypal payment method,’ then click Save Settings.
Next, go to Settings > PayPal and check ‘Enable PayPal payment for booking payment.’ Also, insert your business email and click Save Settings.
Here’s a snapshot of the booking page where clients can select PayPal as their payment method:
That’s it! You have successfully enabled the PayPal payment gateway. Now when your attendees book appointments with you, they can select the PayPal payment option to make their payments securely.
Stripe Refund Option
As a FluentBooking admin, there may be occasions when you have to cancel meetings due to unforeseen circumstances, client requests, technical issues, or administrative reasons. In such cases, refunds need to be provided to clients if meetings are canceled.
That’s why we have added the refund option for admins if the payment is made through Stripe. To cancel any meeting and issue a refund to your attendee, go to Bookings and select the meeting.
Once found, check ‘Refund payment from Stripe’ and click Yes, Cancel. Afterward, the meeting will be canceled, and your attendee will receive their refund.
Mark as Paid
As an admin, it’s essential to track meetings with pending payments and those successfully processed. That’s why we’ve introduced the “Mark As Paid” option for pending payments, providing clarity on payment status.
Once your attendee clears the pending payment, go to Bookings, find the relevant meeting, and click Mark As Paid.
This feature ensures accurate financial records, reduces confusion regarding pending payments, and enhances your user experience.
FluentBooking Calendar in Gutenberg Block
Do you remember the FluentBooking 1.2.0 release when we introduced the FluentBooking team block in the Gutenberg editor? Well, in this update, we’ve introduced the FluentBooking Calendar block so you can easily select any host and go live with your services.
Now to add a host from the Gutenberg editor go to Add New Post and type /fluentBooking Calendar or click on the plus icon and search for FluentBooking Calendar.
You’ll then discover a list of all available hosts from which you can select yours.
Next, choose the events you want to showcase on the booking page for that specific host. However, if you want to hide the calendar info then you can do that too.
Finally, click Publish when you’re done with all the settings, and you’ll see a booking page like this:
Congratulations! You have successfully created your booking page from the Gutenberg editor using the FluentBooking Calendar block.
Booking Rescheduled Trigger
A meeting might be rescheduled due to conflicting schedules, unforeseen events, unexpected emergencies, etc. So why not design an automation funnel in FluentCRM for your rescheduled events in FluentBooking?
In this update, we’ve added a missing piece to FluentCRM called ‘Booking Rescheduled.’ When a meeting is rescheduled, this trigger initiates predefined workflows or actions, such as sending automated notifications to both the client and the admin, updating calendars, or adjusting reminders.
Now to set up a meeting reschedule automation go to FluentCRM > Automations > Create New Automation > Booking and you’ll discover the latest trigger “Booking Rescheduled.”
Next, create your own automation funnel in FluentCRM. Here’s an automation example for you:
We hope this automation will help you minimize manual intervention, ensure timely communication, and maintain schedule accuracy.
Custom Redirect URL on Paid Bookings
In FluentBooking 1.2.4, we introduced the booking redirection feature, which can be used to redirect your attendee to a custom URL after successfully booking an appointment. Initially, this feature was available only for free events.
That’s why we have now added the custom redirection feature for paid events as well. This means you can easily redirect your attendee to a custom page after successful payment.
If you’re unsure how to enable this feature, simply go to Calendars > Edit > Event Details and scroll down until you find ‘Redirect after booking’. Then, insert your redirect URL and click Save Changes.
Now your attendee will be redirected to the defined URL after completing the payment.
Catching Time in Apple Calendar & Nextcloud Calendar
Catching time is important for checking both your FluentBooking calendar and other calendars to minimize the likelihood of scheduling conflicts and event overlaps. In this update, we have added catching time functionality to Apple Calendar and Nextcloud Calendar.
To set the catching time for your Apple Calendar, navigate to Settings > Apple Calendar, then specify your preferred catching time and click Save Settings.
For Nextcloud Calendar, go to Settings > Nextcloud Calendar, set your preferred catching time, and click Save Settings.
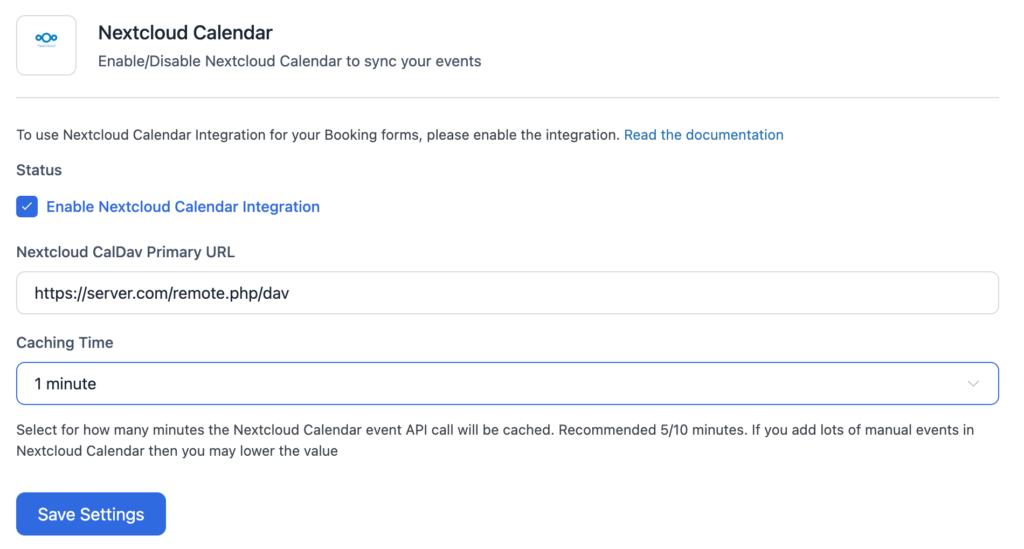
Now FluentBooking will keep checking events in your Apple Calendar and Nextcloud Calendar after the predefined time interval, helping to prevent any overlaps or scheduling conflicts.
New Shortcode – Full Start and End Date Time
From now on, you can use a shortcode to incorporate the meeting start and end time with the date in the meeting confirmation email, adjusted to the guest’s or attendee’s timezone.
To use this shortcode in the confirmation email, go to Calendars > Edit > Email Notification. Here, you’ll find the ‘Booking Confirmation Email to Attendee/Organizer’ option. Click Edit and proceed to Add Shortcodes > Booking Data, where you’ll discover the new shortcode.
After selecting the desired shortcode for your email, the confirmation email will display the meeting start and end time with the date accordingly.
This functionality is designed to help you and your attendees stay on track with the meeting schedule. We believe it will greatly benefit your coordination efforts.
Improvements and Bug Fix
FluentBooking believes in continuous improvement, and this update is no exception. We have further enhanced the UI/UX of FluentBooking to provide you with a sleeker, smoother, and more enjoyable booking experience.
In terms of bugs, we always strive to keep them at a minimal level, and the team is working relentlessly to ensure an error-free appointment management experience. In this update, we have addressed the following issues:
- DST Issue with specific timezones: Some users were experiencing DST issues in the Europe/Dublin timezone. This has been fixed in the update.
- Group meeting issue with DST: A few users encountered group meeting issues related to DST. This has been resolved.
- Multi-hour slot availability issue: Some users faced issues with multi-hour slot availability in FluentBooking, which has now been rectified.
- Availability permission issue: In the availability permission issue, users lacked edit permissions but were still able to make edits. We have addressed this bug, and it has been fixed.
Let’s Keep Growing!
Since the release of FluentBooking, our objective has remained the same: to deliver a simple and hassle-free appointment management experience in WordPress. We cherish this goal every day and keep pushing ourselves to meet your diverse appointment needs.
We believe our job isn’t done just by selling a product but rather by keeping in contact with every single user and making a true impression in their life and business.
We hope that the newest features introduced in this update, along with the performance improvements and bug fixes, will make you feel more complete and deliver a smoother appointment management experience.
That wraps up today’s update. Enjoy the new features until we meet again with another exciting update.
Shahjahan Jewel
Hello, this is Jewel, CEO & Head of Ideas at WPManageNinja. I am obsessed with WordPress since 2009. My aim is to be a user-centric developer first, and a serial entrepreneur second. You will find me discussing various tech issues and trying to come up with scalable solutions on different forums when I am not busy coding.
Table of Content
Subscribe To Get
WordPress Guides, Tips, and Tutorials







Leave a Reply