


How to Manage Cancellation Policies for a Healthcare Practice


Last-minute cancellations and no-shows can leave healthcare practices with empty appointment slots, disrupted schedules, and wasted staff time. A clear cancellation policy helps set patient expectations, but it needs to be communicated clearly and applied consistently to be effective.
A well-designed policy should define the cancellation window, fees or deposits, exceptions, and any rules that vary by appointment type. Practices should also consider applicable Medicare, Medicaid, state, and payer requirements before introducing cancellation or no-show fees.
With the right scheduling workflow, much of this process can be managed automatically. In this guide, we’ll cover how to create, communicate, enforce, and manage a healthcare cancellation policy effectively.
What Your Healthcare Cancellation Policy Should Define
Before publishing your policy, clearly define the rules patients and staff need to follow. This helps prevent confusion and ensures the policy is applied consistently. For a broader look at creating a policy that balances clear patient expectations with protecting your appointment revenue, see our guide on how to write a cancellation policy that protects your booking revenue.
Cancellation Notice Period
Define how much advance notice patients need to provide when cancelling or rescheduling an appointment. A 24- or 48-hour window can be a starting point, but practices may choose different timeframes based on appointment type, duration, and how difficult the slot is to refill.
Cancellation and No-Show Fees
Clearly state whether late cancellations or no-shows result in a fee, deposit forfeiture, or another permitted arrangement. The policy should explain when charges apply and ensure staff aren’t making fee decisions on a case-by-case basis.
Exceptions and Grace Periods
Specify when the practice may waive a cancellation or no-show fee, such as for unexpected emergencies, certain illness-related situations, or practice-initiated cancellations. If you offer a one-time courtesy waiver, define when and how staff can apply it.
Different Rules for Different Appointment Types
Not every appointment needs to follow the same cancellation rules. Consider setting different notice periods or fee structures for new-patient consultations, procedures, longer appointments, follow-ups, and telehealth visits based on the needs of your practice.
How Patients Can Cancel or Reschedule
Explain how patients should cancel or reschedule an appointment, such as through an online booking link, patient portal, phone call, or text message. Providing a clear process makes it easier for patients to cancel on time and helps the practice keep its schedule up to date.
How to Communicate Your Cancellation Policy to Patients
A cancellation policy is more effective when patients understand it before booking or cancelling an appointment. Make the policy easy to find and explain it consistently across every patient touchpoint.
- Show the Policy During Booking: Display a short, clear notice near the booking form or confirmation button so patients can review the cancellation terms before completing their appointment.
- Include the Policy in Confirmation Messages: Mention the cancellation deadline and provide a direct link to cancel or reschedule. You can also use cancellation email templates to create clear, consistent messages that explain what happens if a patient cancels late or doesn’t attend.
- Include It in Patient Documentation: Add the policy to relevant patient materials, such as new-patient forms, practice policies, patient portals, and your website, so patients can refer back to it when needed.
- Train Staff to Explain the Policy Consistently: Give staff clear guidance on how to explain the policy, when exceptions can be approved, and how those exceptions should be documented. This helps ensure patients receive consistent information regardless of who assists them.
- Make the Policy Easy to Understand: Use simple, patient-friendly language when explaining your cancellation policy. Clearly state the notice period, applicable fees, exceptions, and cancellation process so patients know exactly what to expect. Avoid complex legal or billing terms and vague wording that could lead to confusion or inconsistent interpretation.
How to Manage Cancellation Policies for a Healthcare Practice: Step-by-Step
Many healthcare practices use online scheduling tools to manage appointments, cancellations, payments, and patient communications. The exact setup varies between platforms, but the general workflow is similar: define your policy first, then configure your scheduling system to reflect those rules.
For practices using FluentBooking in WordPress, you can set up the cancellation workflow around individual appointment types and manage the process from booking through cancellation and follow-up.
Create Appointment Types With Specific Rules
Start by creating separate appointment types for the services your practice offers. For example, you might have different types for new-patient consultations, follow-up visits, procedures, and telehealth appointments.
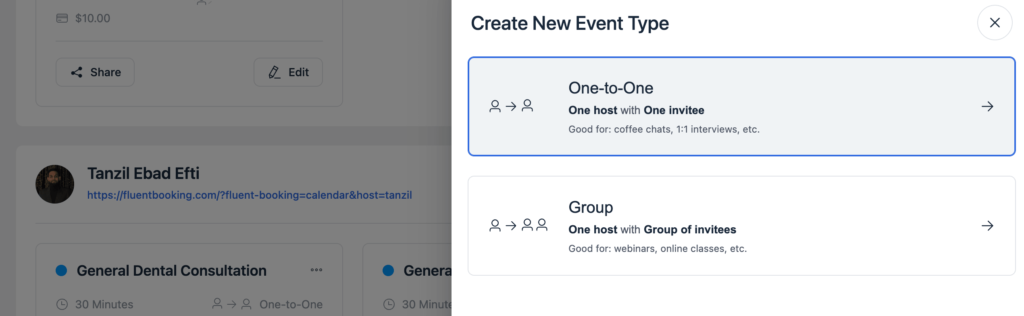
This makes it easier to apply the appropriate cancellation rules to each type instead of relying on one policy for every appointment.
Configure Cancellation Settings
Once your appointment types are set up, configure the cancellation and rescheduling options according to your written policy. Go to the advance settings and scroll down, where you will find the reschedule and cancellation settings. Define how much notice patients need to provide and what options they have when they need to change an appointment.
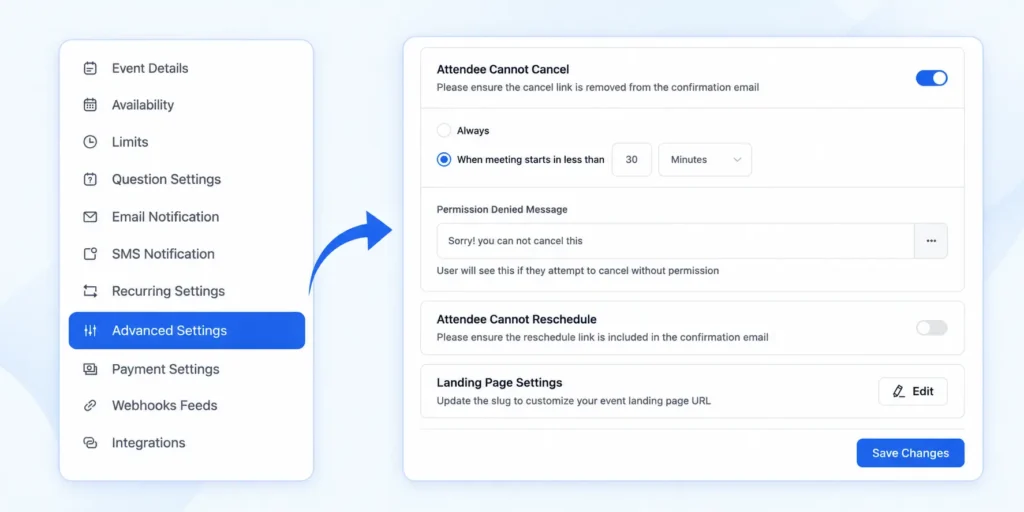
Keeping these rules within the booking workflow reduces the need for staff to handle every cancellation manually.
Set Up Payments or Deposits
If your practice requires a deposit or uses a permitted cancellation fee, configure the payment workflow to match your policy. Make sure patients understand the payment terms before booking, and review applicable payer and regulatory requirements before applying charges.
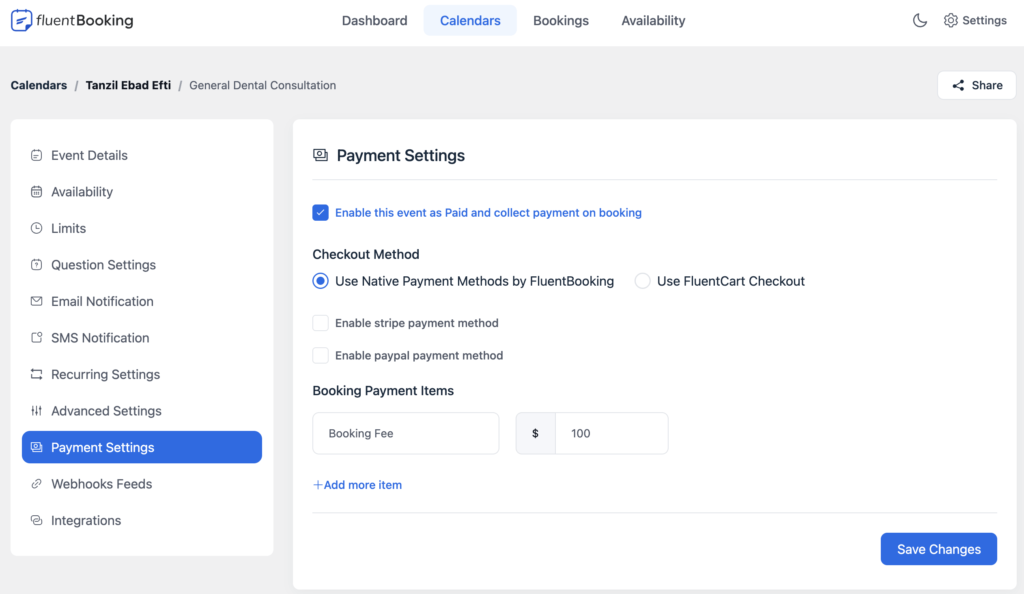
The scheduling system should support the policy you have already established rather than determine the policy itself.
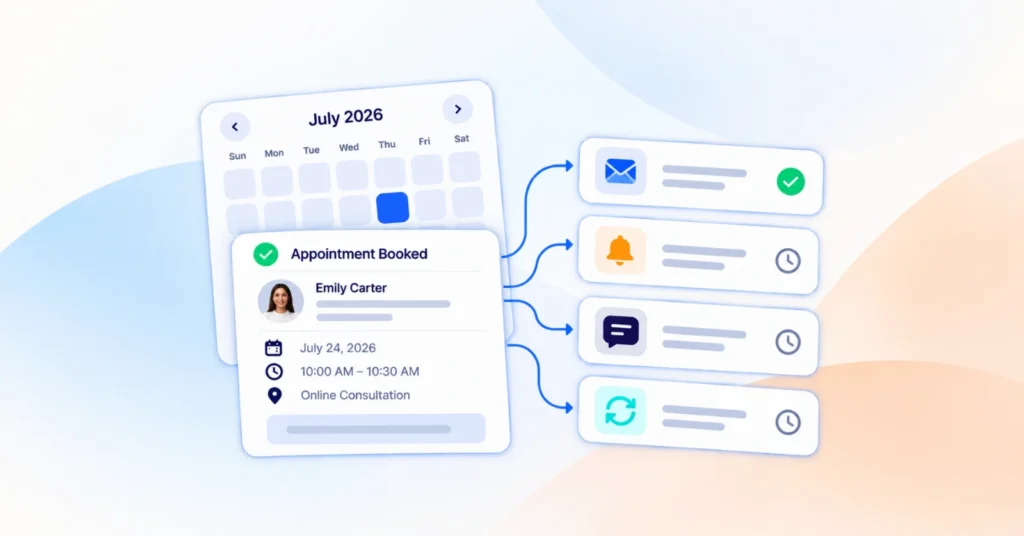
Automate Cancellation Notifications
Set up automated email notification messages so patients receive timely updates when an appointment is cancelled or rescheduled. Include the relevant next steps, such as a rescheduling option or a link to book another appointment.
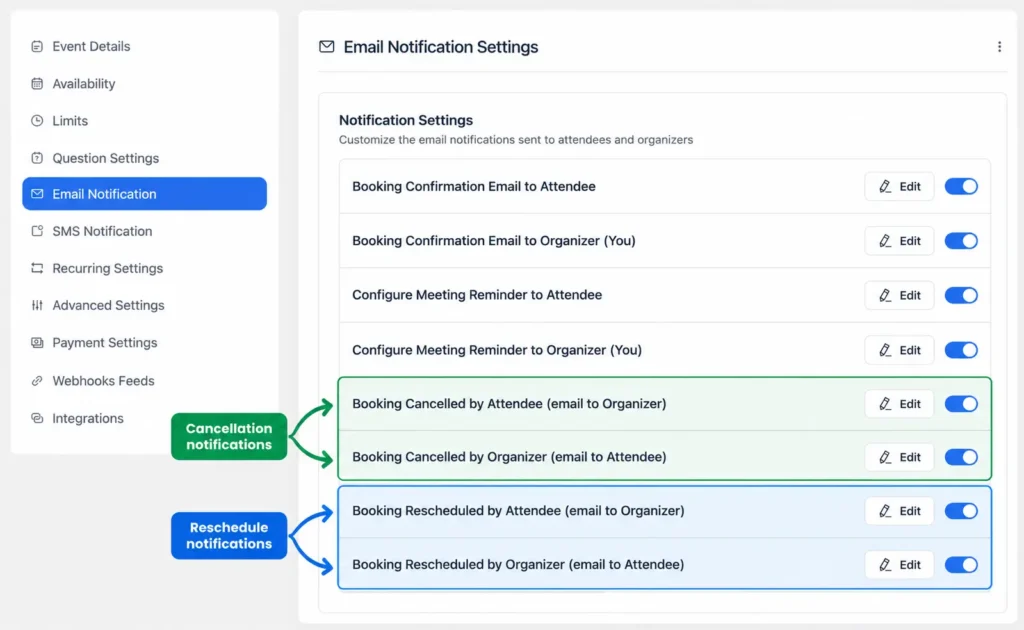
Keep automated messages focused on essential scheduling information and avoid unnecessary patient details.
Make Cancelled Slots Available Again
When an appointment is cancelled, the scheduling system can update the calendar so the time becomes available for another booking. This gives the practice an opportunity to fill the opening instead of leaving an unused slot in the provider’s schedule.
Keep Sensitive Information Out of Unnecessary Messages
Automated scheduling messages should contain only the information needed to manage the appointment. Avoid including diagnoses, treatment details, or other sensitive health information when it isn’t necessary.
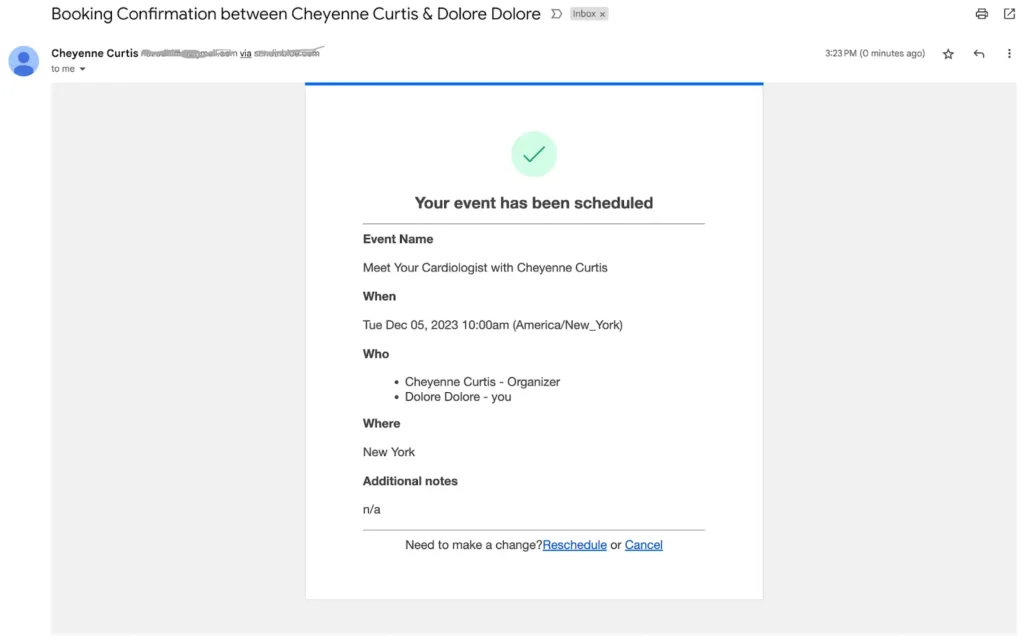
Keeping communications focused on dates, times, cancellation instructions, and other scheduling details can support a more privacy-conscious workflow.
Review the Workflow Regularly
After implementing the policy, review how cancellations are actually being handled. Look at late cancellations, no-shows, rescheduling patterns, and staff exceptions to identify areas that need improvement.
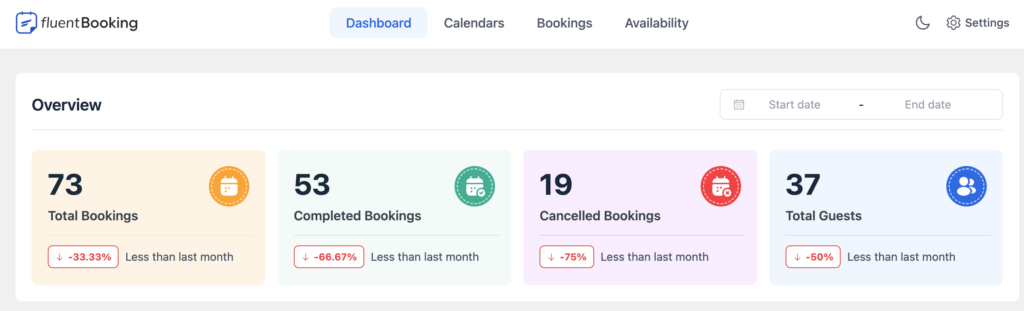
As part of that review, make sure your scheduling workflow continues to follow HIPAA requirements for protecting patient information. If the policy changes, update both your patient-facing language and scheduling settings so they remain aligned.
Make Appointment Management Easier
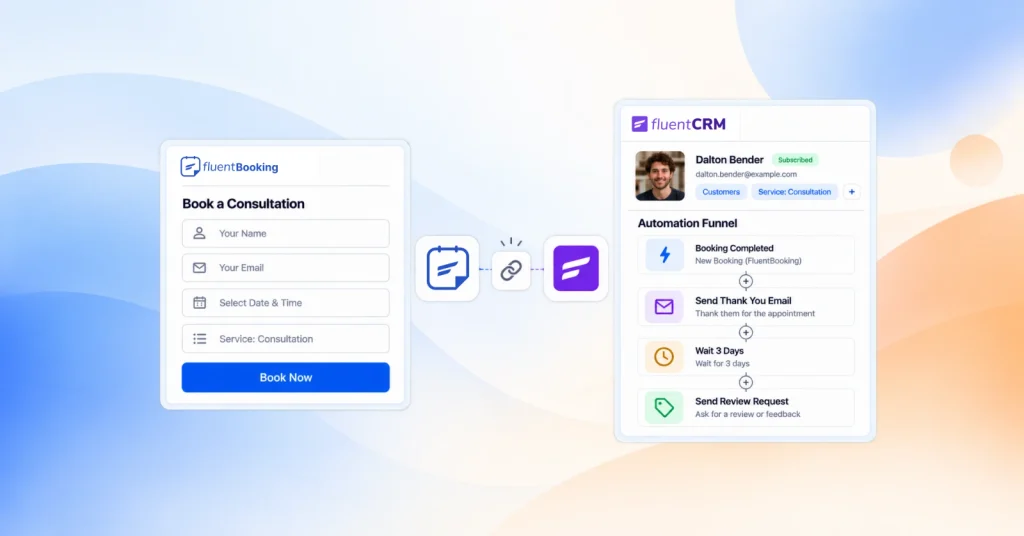
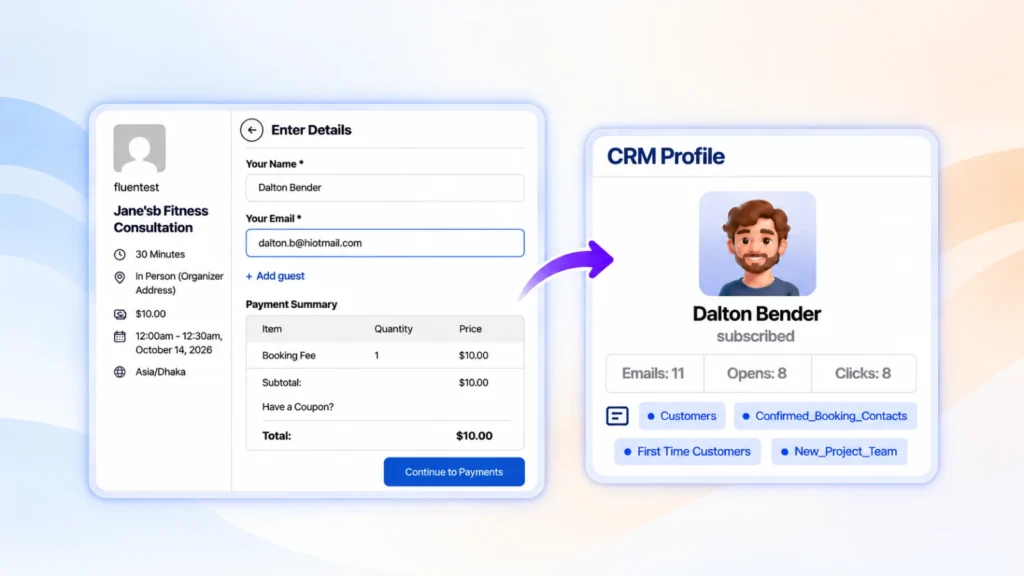
Manage appointment types, cancellations, rescheduling, notifications, and availability from one scheduling workflow with FluentBooking

When Should You Review or Change Your Cancellation Policy?
A cancellation policy shouldn’t be a “set it and forget it” rule. Reviewing the policy periodically helps you identify what is working, where patients or staff are struggling, and whether the policy still fits your practice.
Review Cancellation Data
- Track late cancellations and no-shows over time.
- Identify appointment types with consistently high cancellation rates.
- Compare cancellation patterns across different services or providers.
- Look for changes after introducing or updating the policy.
Review Patient Feedback
- Pay attention to complaints about unclear cancellation terms.
- Check whether patients understand the cancellation deadline.
- Identify confusing instructions on booking, cancellation, or rescheduling pages.
- Use recurring feedback to improve the wording and patient experience.
Review Operational Impact
- Check whether cancelled slots are being filled by other patients.
- Identify how much staff time is spent handling cancellations and exceptions.
- Look for inconsistencies in how staff apply the policy.
- Assess whether the current workflow is creating unnecessary administrative work.
Review Compliance Requirements
- Recheck relevant payer, state, and contractual requirements when policies change.
- Review the policy whenever your practice introduces new appointment types or payment arrangements.
- Keep the written policy and scheduling configuration aligned after every update.
Getting Started With a Healthcare Cancellation Policy
Putting a cancellation policy into practice is easier when you approach it step by step. Start by defining your rules, then build them into your scheduling workflow and review the results over time.
Step 1: List Your Appointment Types
Make a list of the services your practice offers and determine how much notice each typically requires for cancellation or rescheduling. Consider factors such as appointment length, provider availability, and how difficult it is to refill the slot.
Step 2: Define Your Cancellation Rules
Set the cancellation window, fee or deposit approach, exceptions, and no-show rules for each appointment type. Keep the rules clear enough that both patients and staff can understand when they apply.
Step 3: Review Payer Requirements
Check the requirements that apply to your patient population, including Medicare, Medicaid, commercial payers, state regulations, and contractual obligations. Verify any cancellation or no-show fee requirements before putting them into practice.
Step 4: Write the Patient-Facing Policy
Turn your internal rules into a short, easy-to-understand policy. Clearly explain the cancellation deadline, applicable charges, exceptions, and how patients can cancel or reschedule.
Step 5: Configure Your Scheduling System
Add your appointment types and configure the cancellation, rescheduling, payment, notification, and availability settings to match your written policy. Whether you use FluentBooking or another scheduling tool, make sure the system reflects the rules you’ve already established.
Step 6: Train Your Staff
Make sure everyone who handles appointments understands the cancellation rules, exceptions, and escalation process. Give staff clear guidance so the policy is applied consistently across patients and appointment types.
Step 7: Monitor and Improve
Track cancellations, no-shows, exceptions, and successfully refilled appointment slots. Review these patterns regularly and adjust the policy or scheduling workflow when the data shows that something isn’t working.
Turn Cancellations Into a Better Scheduling Workflow
A well-managed healthcare cancellation policy does more than address missed appointments. It sets clear expectations, gives staff a consistent process, and makes it easier for patients to cancel or reschedule when plans change. Start by defining clear rules for each appointment type, reviewing applicable payer requirements, and communicating the policy before patients book.
The key is to make the policy simple, fair, and consistent. Review cancellation patterns, patient feedback, and operational impact regularly, then adjust the policy when needed. With the right approach, practices can reduce scheduling disruptions while creating a more predictable experience for both patients and staff.
Ratul Hasan Ripon
I enjoy making complex ideas simple and engaging through my writing and designs. With a strong knowledge on content writing and SEO, I create technical content that’s both easy to understand and interesting.
Table of Content
Subscribe To Get
WordPress Guides, Tips, and Tutorials


Add your first comment to this post