

FluentBooking offers the perfect solution for effortless and hassle-free booking for appointments, meetings, webinars, events, sales calls, and more. This guide will walk you through downloading, installing, and activating the Pro version of the FluentBooking plugin on your WordPress website.
Step 1: Download the Pro Plugin #
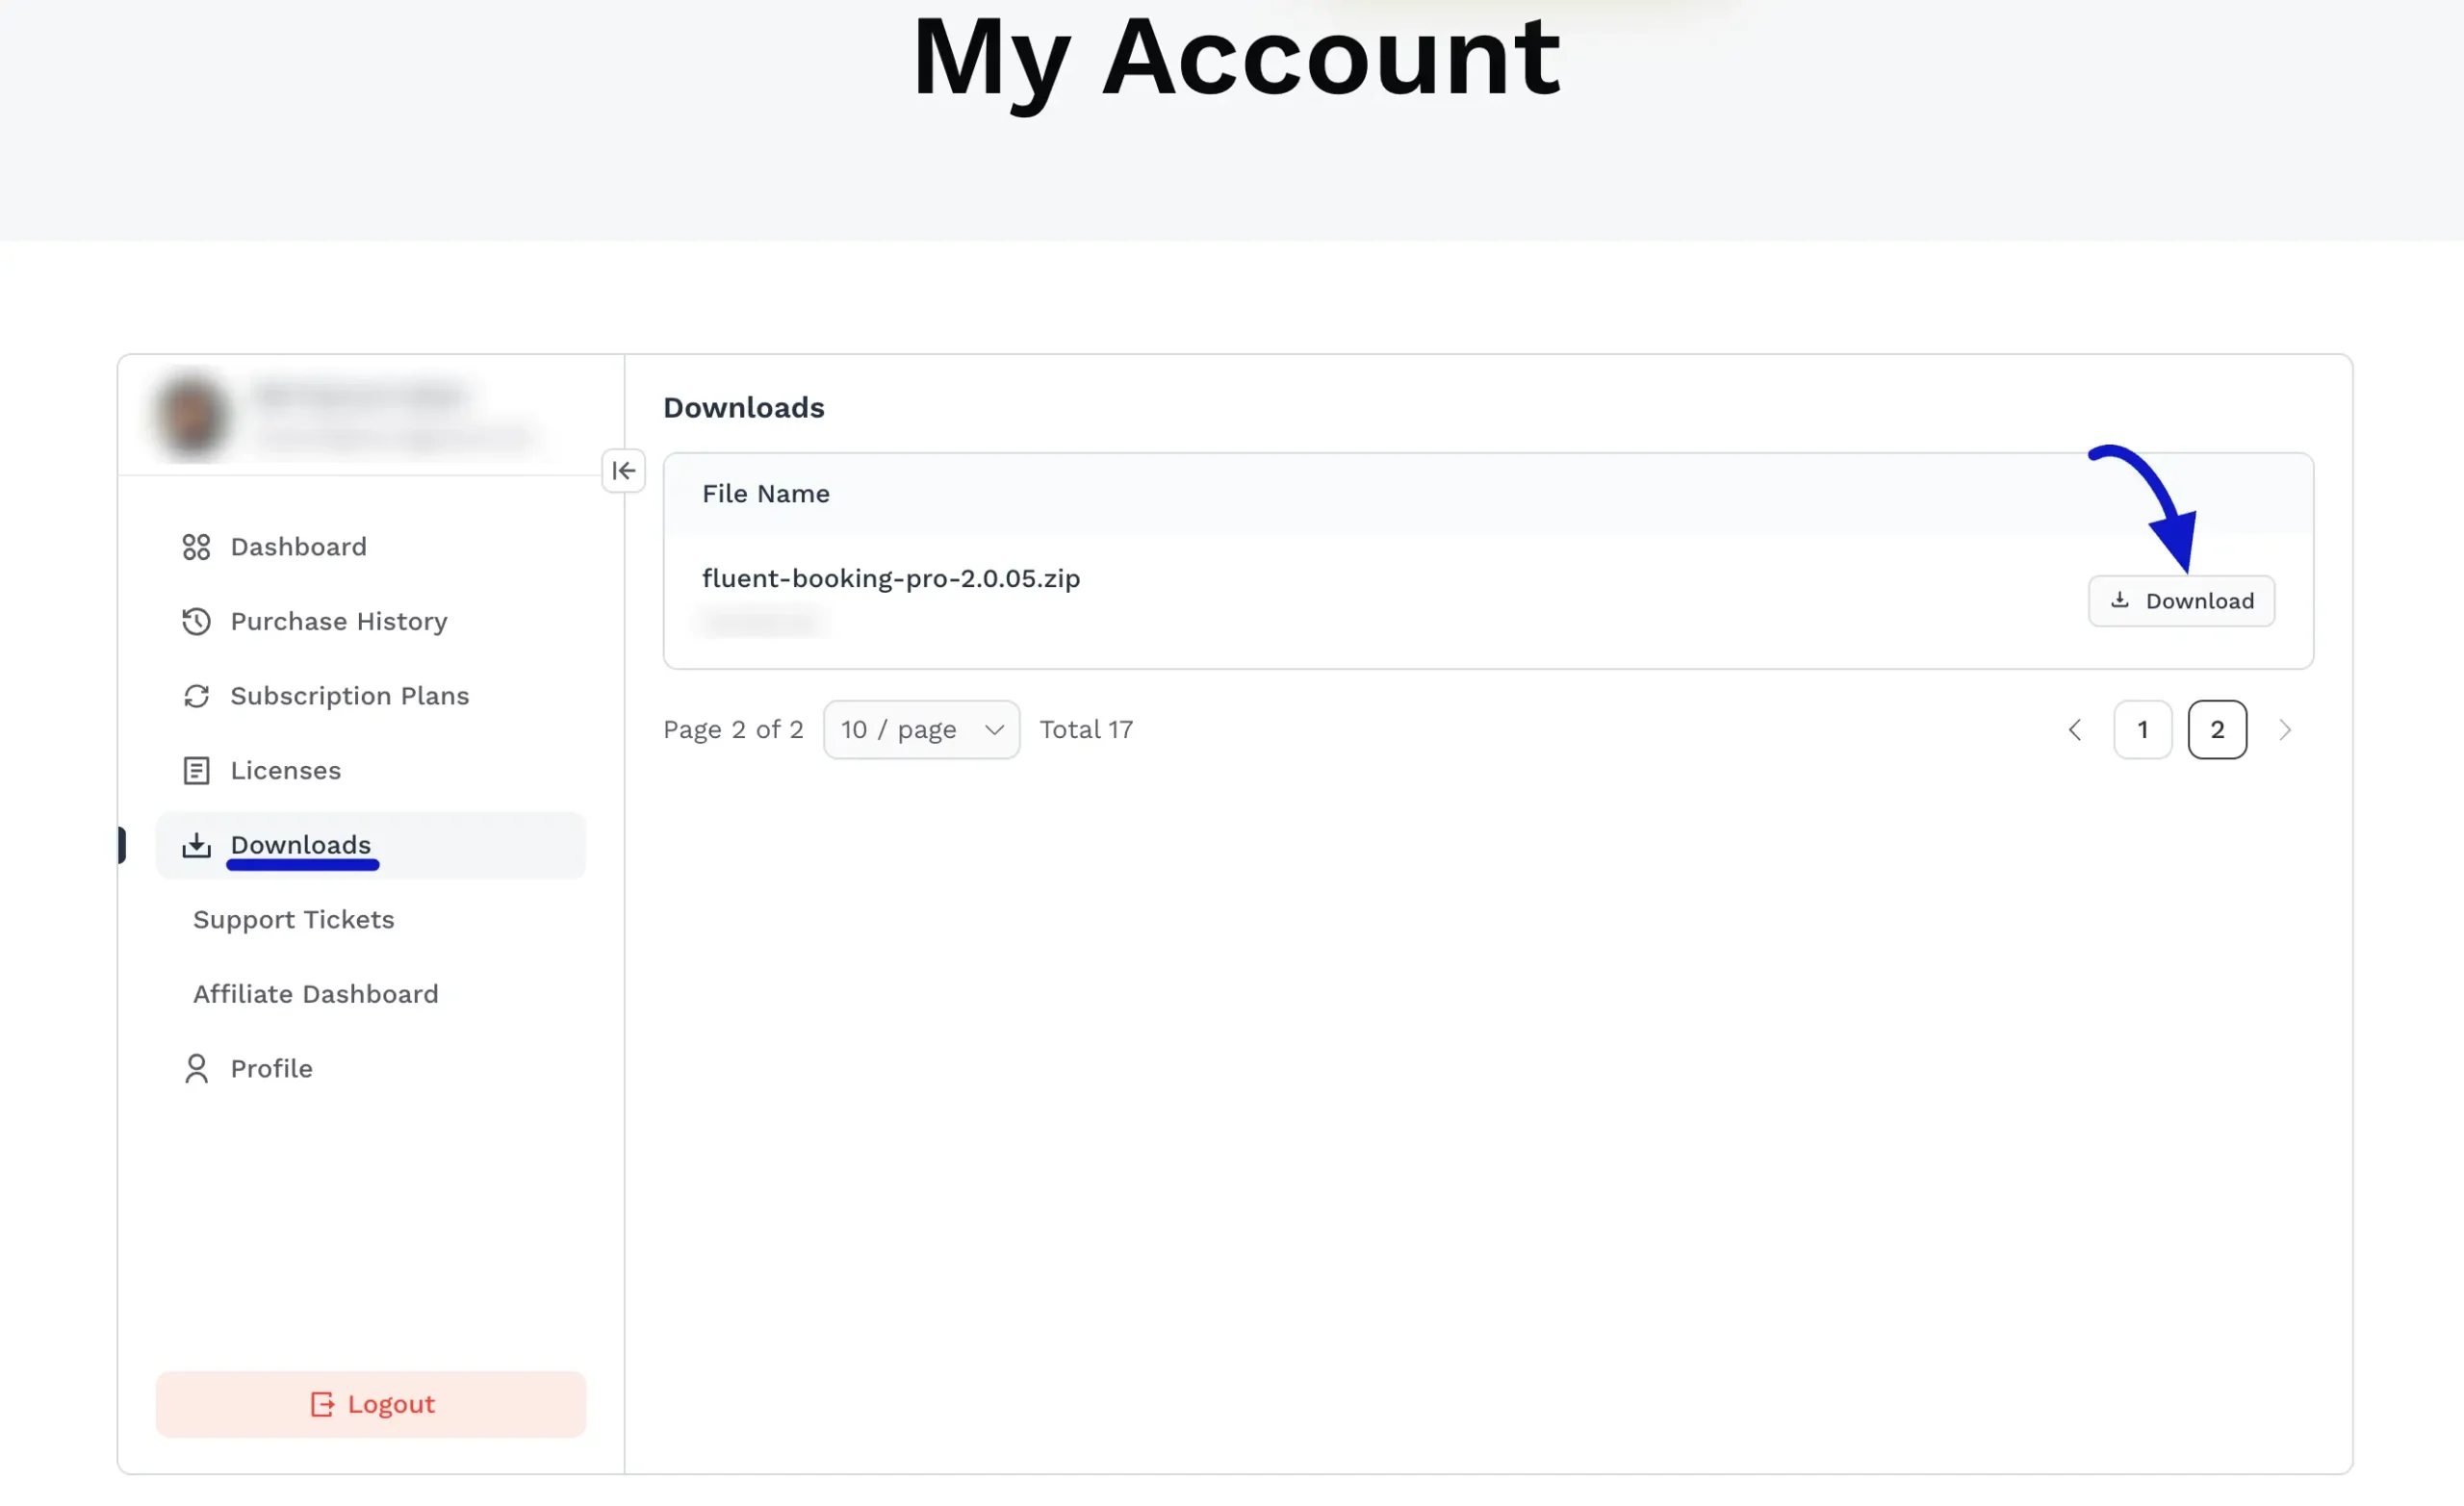
First, you need to download the installation file from your account.
- Log into your WPManageNinja My Account dashboard using your credentials.
- In the left-hand sidebar, click on the Downloads tab.
- Locate the fluent-booking-pro zip file in your list of available downloads.
- Click the Download button on the right side of the row. The FluentBooking Pro plugin will be downloaded to your device in .zip format.
Step 2: Copy Your License Key #
You will need your license key to unlock the Pro features after installation.
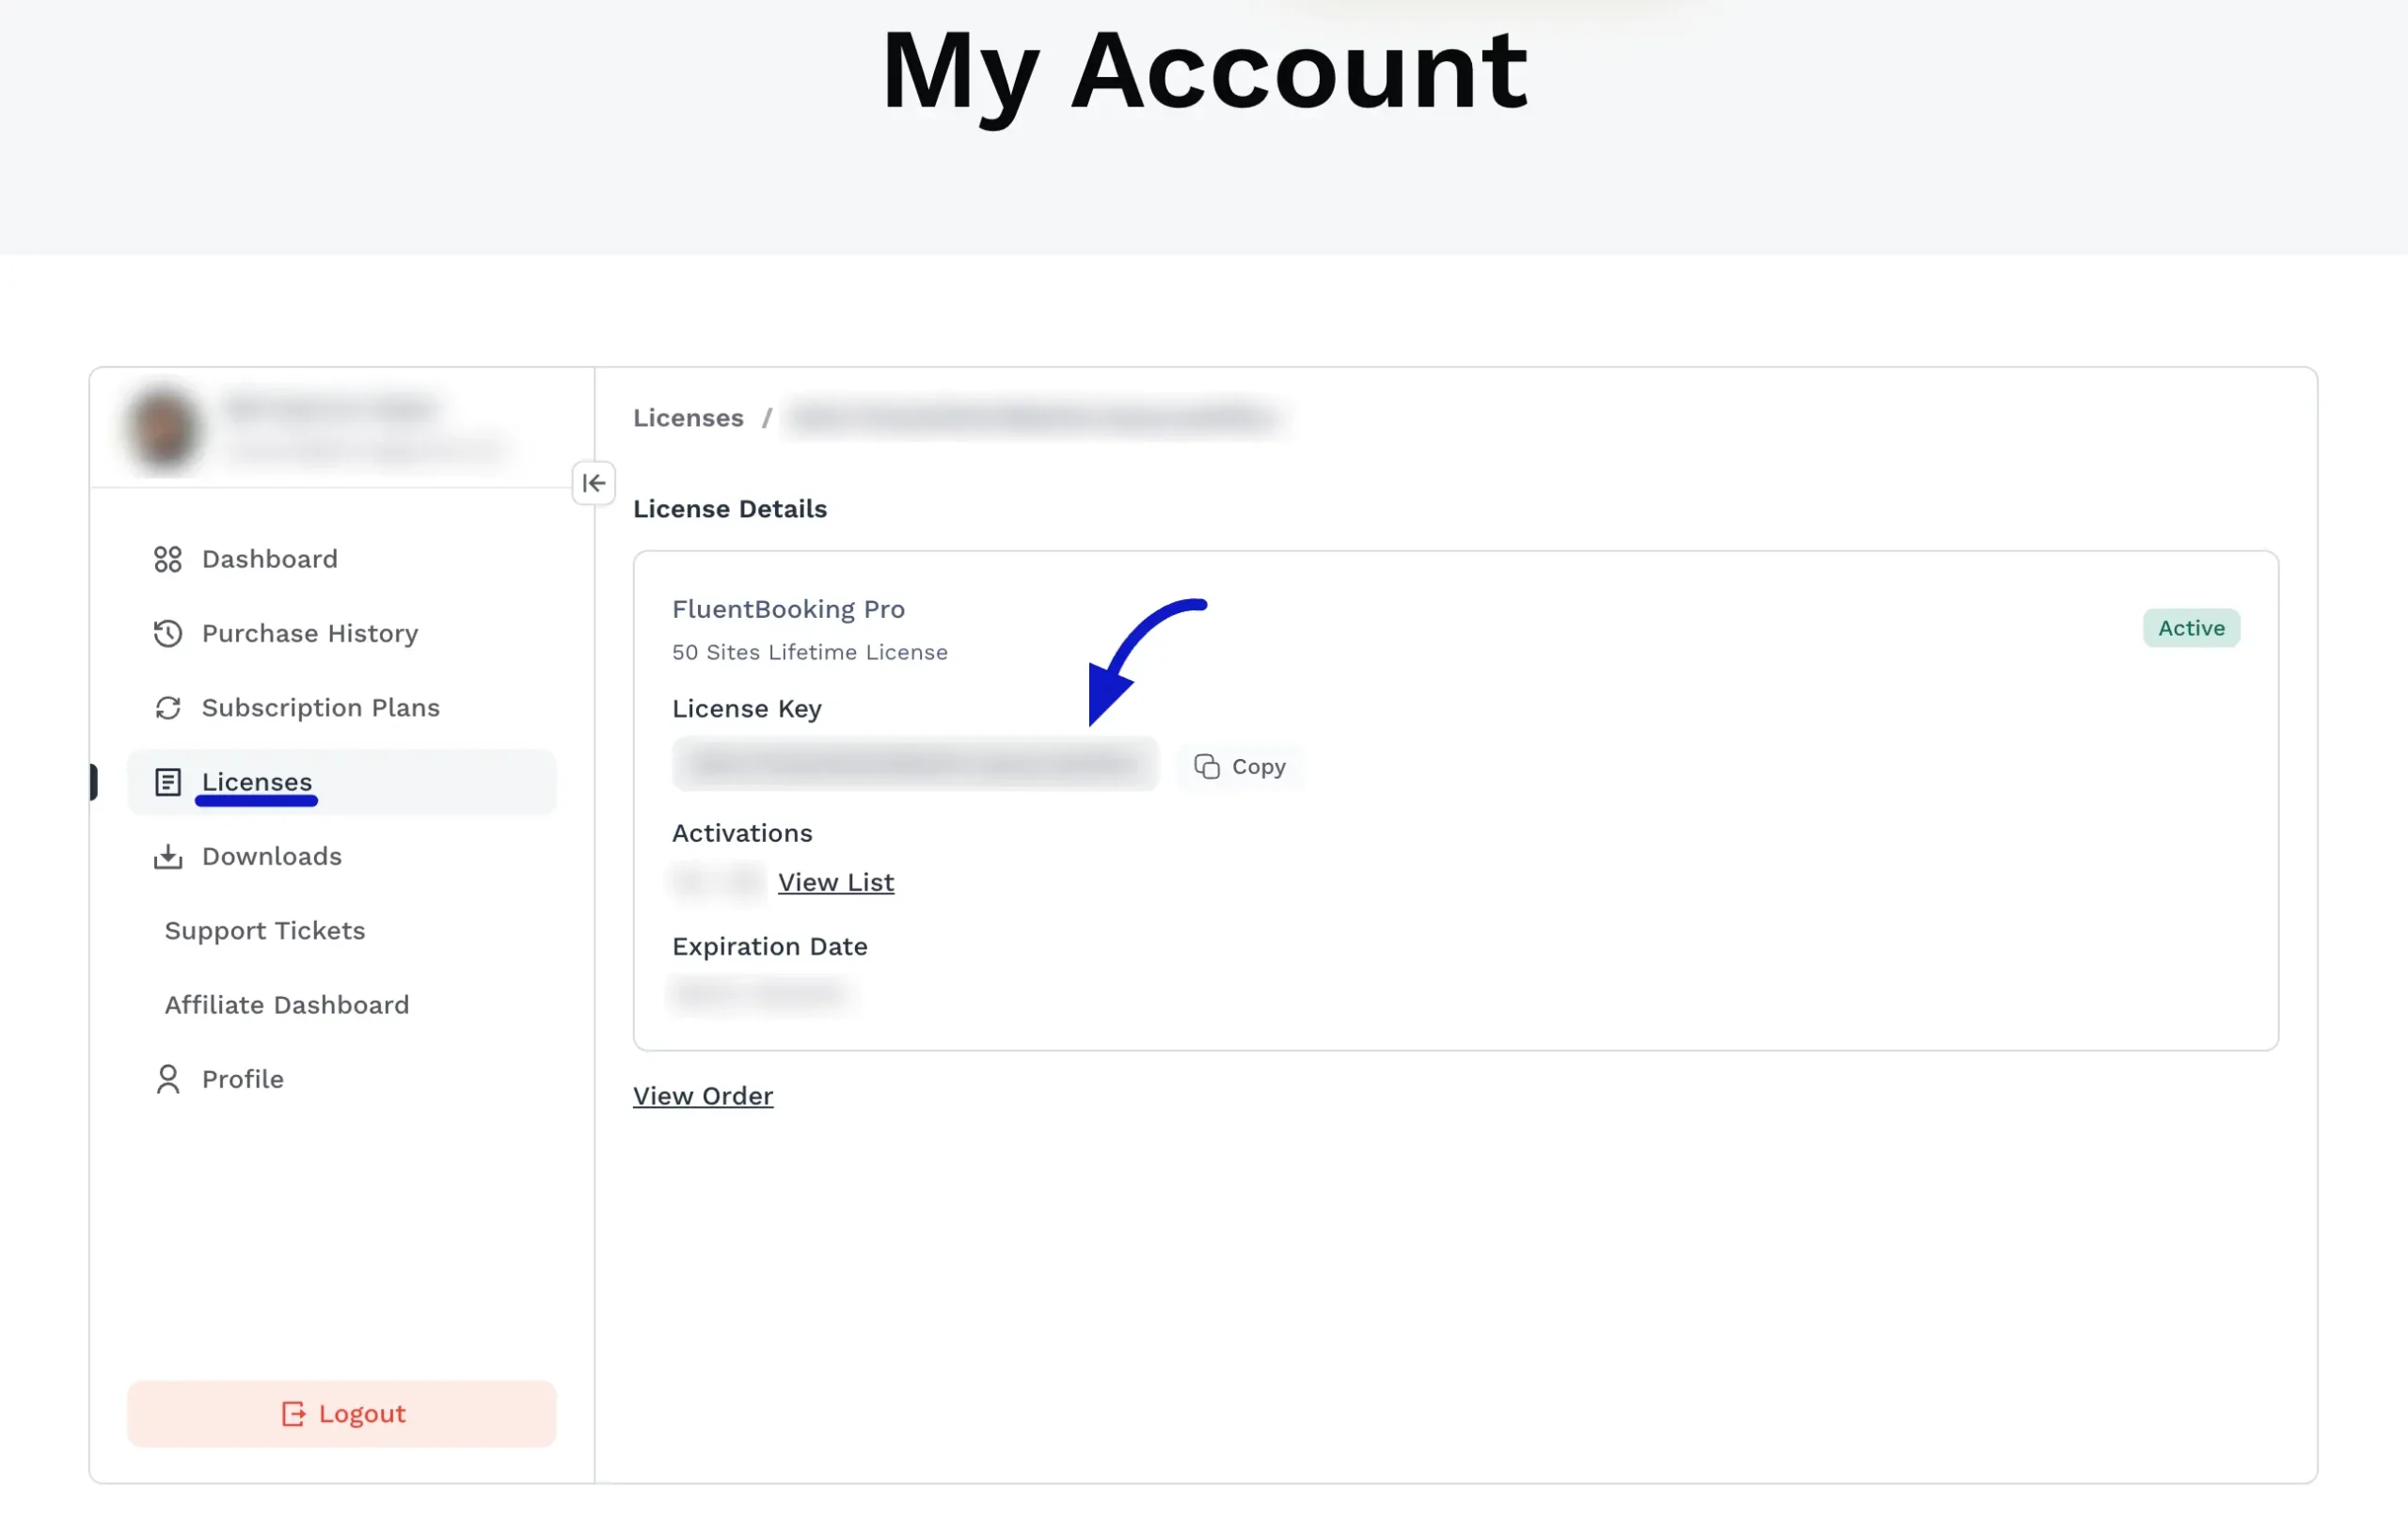
- Still in your WPManageNinja dashboard, click on the Licenses tab from the left sidebar.
- Locate your FluentBooking Pro and click on it to see the license details.
- Click the Copy button next to your License Key to copy it.
✨ Note: Keep this key copied to your clipboard, as you will need to paste it into your WordPress dashboard shortly. You can always return to this page to retrieve it anytime.
Step 3: Install the Plugin on WordPress #
Now it is time to upload the file you just downloaded to your website.
- Go to the Add New Plugin page from your WordPress Dashboard.
- Click on the Upload Plugin button at the top of the page.
- Click on Choose file to upload the fluent-booking-pro.zip file that you downloaded earlier.
- Press the Install Now button. The FluentBooking plugin will be successfully installed on your WordPress site!

Step 4: Activate Your License Key #
The final step is to verify your purchase to unlock all the premium features.
- Go to Settings from your FluentBooking Dashboard.
- Open the License section from the left sidebar.
- Paste the License Key you copied from your WPManageNinja dashboard into the provided field.
- Click the Verify License button.

Your FluentBooking Pro version plugin will now be successfully activated on your WordPress site! Congratulations, now you can explore all the amazing features of FluentBooking.


